
Giving your home a fresh look can feel really good, can't it? Sometimes, the biggest impact comes from changing something you see every day. Faded or worn aluminum window frames, for instance, might be making your house look tired. This simple change can make a big difference, you know?
It's a common question, actually: can you really paint aluminum window frames? The answer is a clear yes. With the right steps and a bit of patience, you can give those frames a complete makeover. This project can truly change how your home feels, inside and out, you know?
This guide will walk you through everything. We'll cover the tools you need, how to get the frames ready, and the best ways to apply paint. You'll learn how to get a finish that lasts and looks professional. It's really quite achievable, you see.
Table of Contents
- Getting Ready: What You Need
- Prepping Your Frames for Success
- Applying the Primer: The Foundation
- Painting the Frames: Adding Color
- Protecting Your Work: The Final Touches
- Common Questions About Painting Aluminum Frames
Getting Ready: What You Need
Before you even begin, gathering all your supplies makes the job much smoother. Having everything on hand means fewer interruptions. This step is pretty important, obviously.
First, think about the paint and primer. You need products made for metal, specifically aluminum. Look for primers that say "etching" or "self-etching." These help the paint stick to the slick surface of aluminum. For the topcoat, choose an exterior-grade paint. Acrylic latex or oil-based options work well. You might want to pick a color that complements your home's exterior, you know?
Cleaning supplies are next on your list. You will need a good degreaser to remove dirt and grime. Rags or sponges are also necessary for wiping things down. A bucket of clean water helps too. This ensures your surface is ready, as a matter of fact.
For preparing the surface, you'll need sanding tools. Fine-grit sandpaper, perhaps 220-grit, works well. Sanding sponges can also be very handy for getting into corners. This step helps the primer get a good grip, you see.
Taping and covering things up is a big part of protecting your home. Painter's tape, the blue kind, is good for masking off glass and surrounding walls. Drop cloths or plastic sheeting will protect your floors and landscaping. This keeps paint only where you want it, basically.
You will need tools for applying the paint. Small brushes, like angled sash brushes, are great for precise work around the edges. A small foam roller can help cover larger, flatter sections. This gives a smooth, even finish, you know?
Safety gear is a must. Always wear gloves to protect your hands from paint and chemicals. A mask or respirator is good for keeping paint fumes out of your lungs. Eye protection, like safety glasses, shields your eyes from splashes. Your health matters, after all, so.
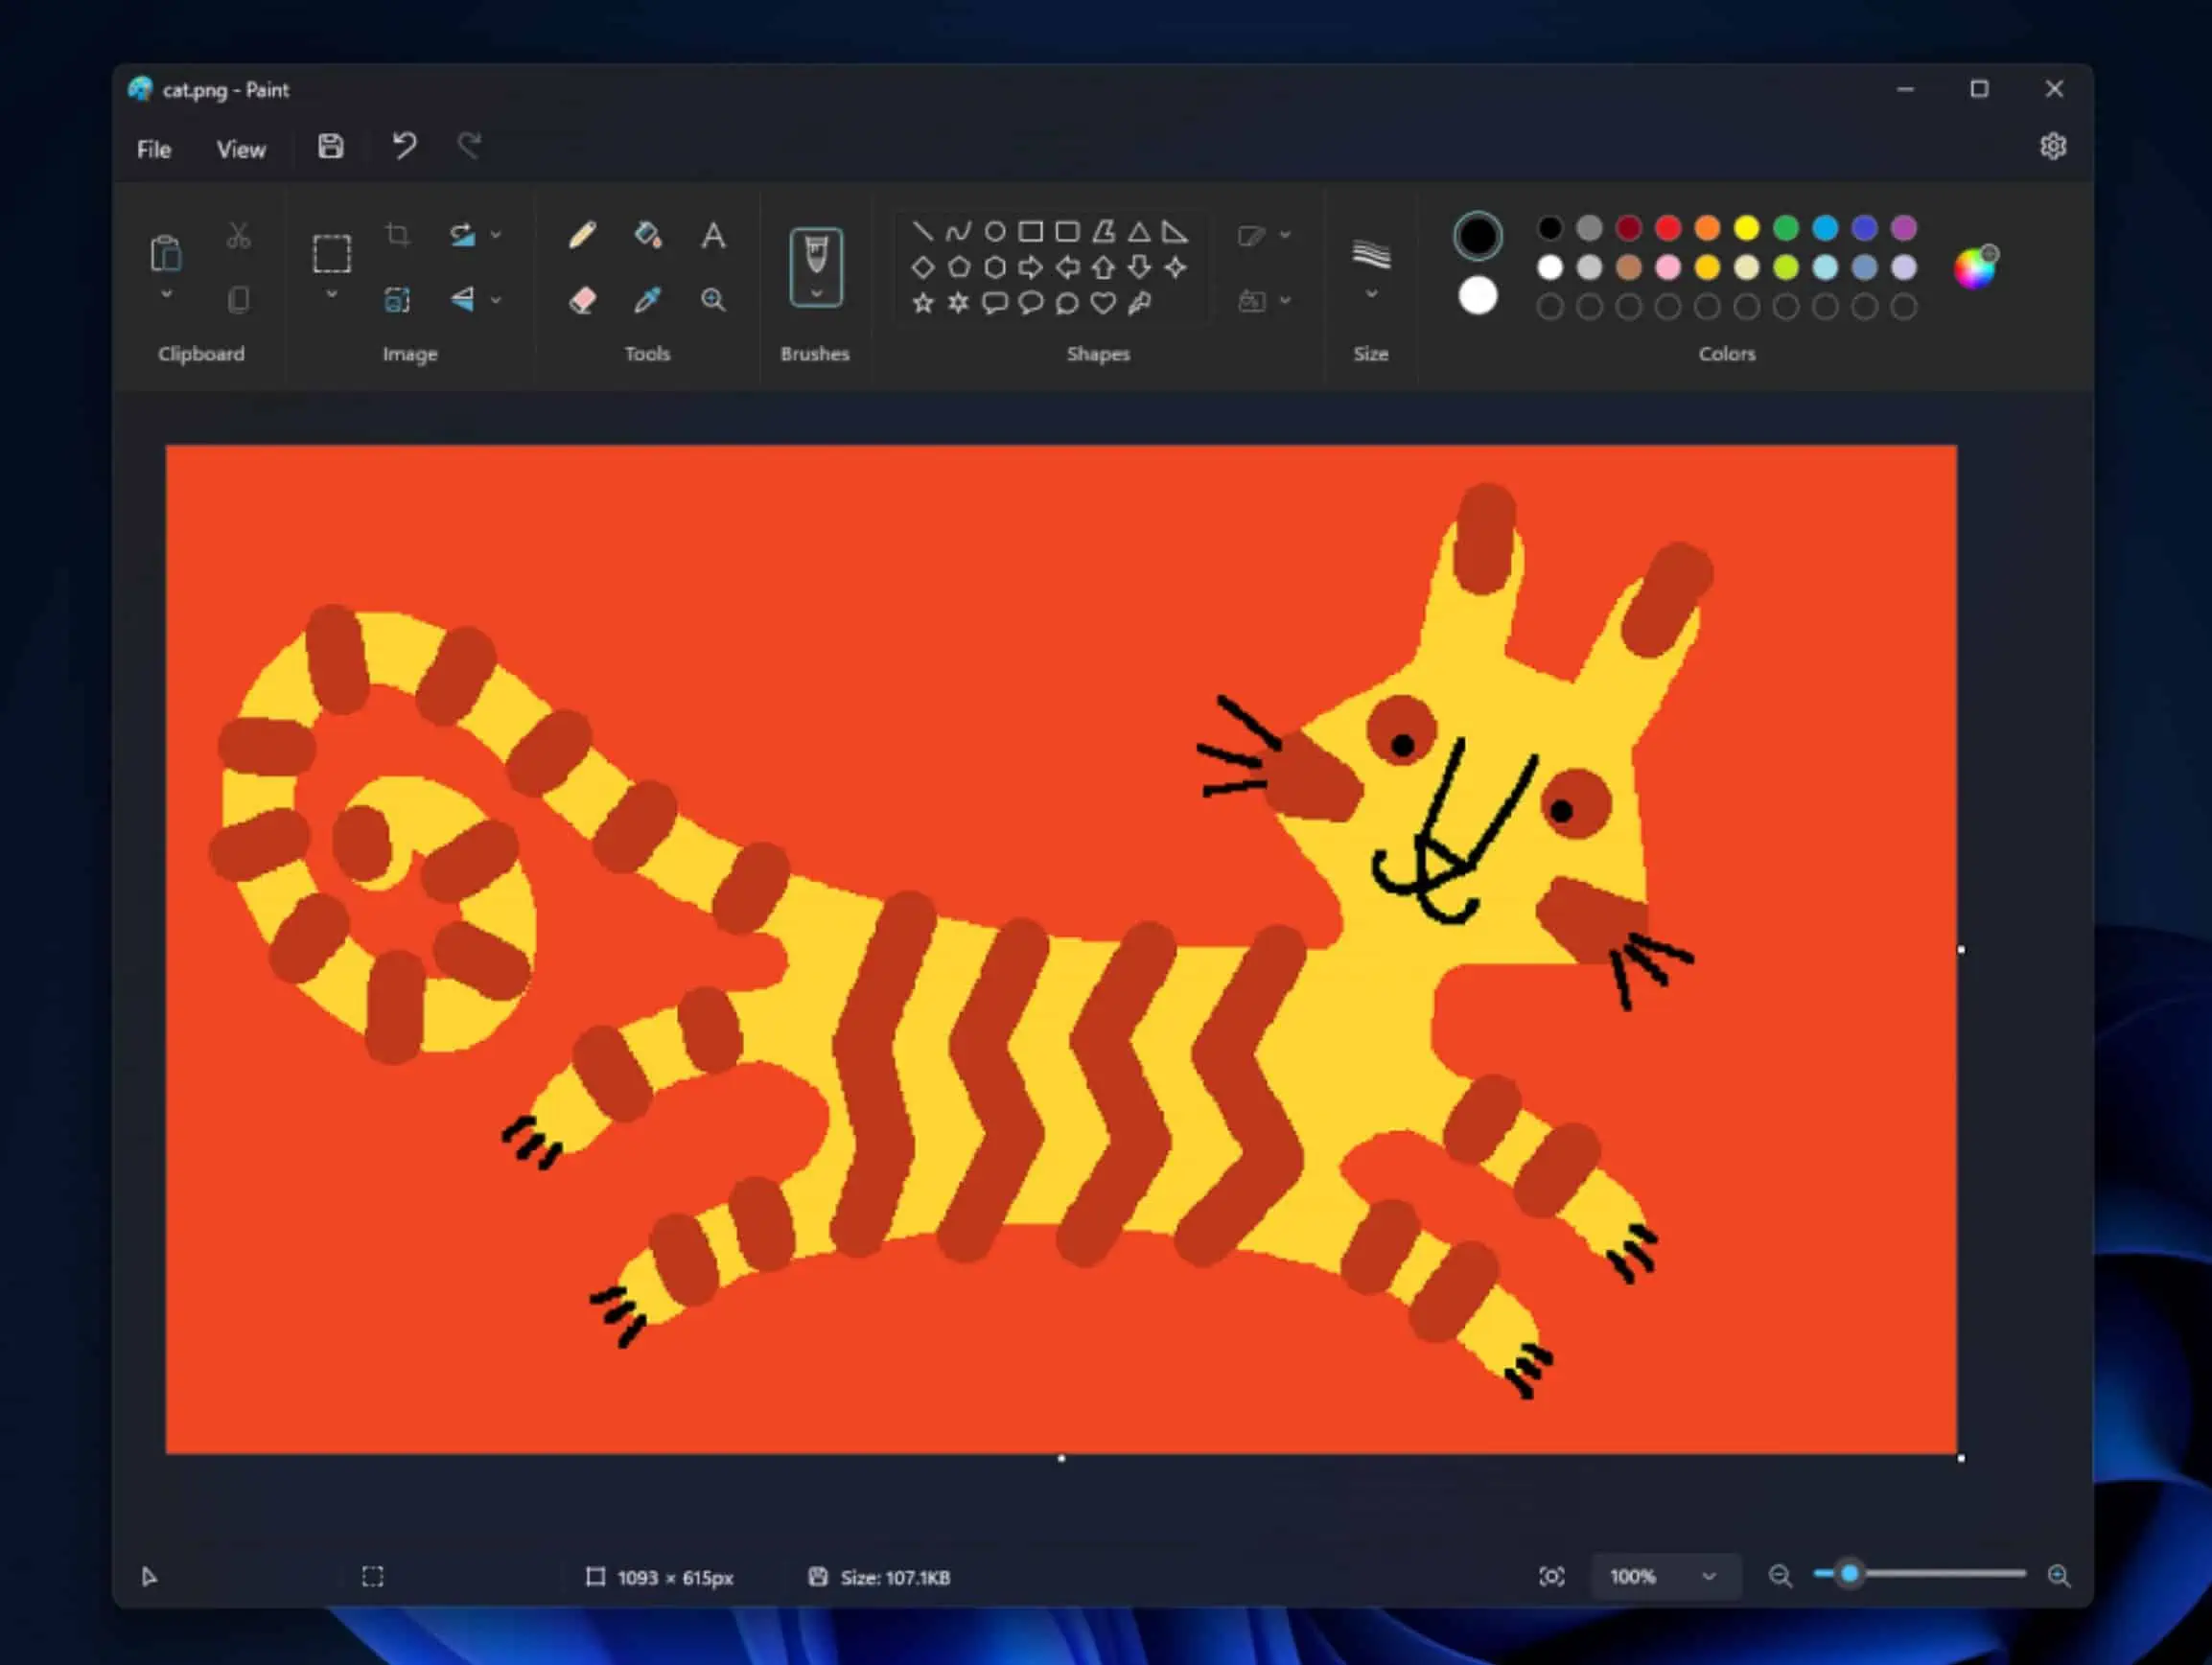
Before you even pick up a brush, you might want to think about color choices. Just like using a simple image editor, perhaps like MS Paint, to see how different shades look on a picture of your house, visualizing the final outcome can really help. It helps you feel more confident in your color choice, too it's almost.
Prepping Your Frames for Success
Getting the frames ready is perhaps the most important part of this project. If you skip steps here, your paint might not stick or could peel later. Proper preparation sets you up for a lasting finish. It really does make a difference, you know?
Start by cleaning the frames thoroughly. Use your degreaser and a sponge or rag. Scrub away all the dirt, grease, and any oxidation. Oxidation looks like a chalky residue on the aluminum. Rinse the frames with clean water afterwards. Make sure all the cleaning solution is gone, you see.
Once the frames are dry, it is time for sanding. Use your fine-grit sandpaper or sanding sponge. Lightly scuff the entire surface of the aluminum frames. You are not trying to remove the old finish, just create a rough texture. This gives the primer something to grab onto, in a way.
After sanding, wipe down the frames again. Use a clean, damp cloth to remove all the dust created by sanding. Any dust left behind will get stuck in your paint. This step ensures a smooth surface for your primer, anyway.
Now, protect the areas you don't want painted. Use painter's tape to mask off all the glass panes. Run the tape along the edge where the frame meets the glass. Press it down firmly to prevent bleed-through. Also, use drop cloths or plastic sheeting to cover the floor, walls, and any nearby plants. This keeps things tidy, as a matter of fact.
Take your time with the taping. Straight lines and good adhesion mean less cleanup later. You can use a utility knife to trim the tape precisely in corners. This attention to detail really pays off, you know?
Check all your taped edges before moving on. Make sure there are no gaps or loose spots. A little extra time here saves a lot of frustration later. This step is pretty critical, you know?
Applying the Primer: The Foundation
Primer is not an optional step when painting aluminum. It creates a bonding layer between the metal and your chosen paint. Without it, the paint will likely chip and peel very quickly. It's the secret to a durable finish, really.
Choose a primer specifically designed for metal, or even better, an etching primer. Etching primers have chemicals that lightly etch the aluminum surface. This creates a stronger bond. Read the product label carefully to make sure it is suitable for aluminum, you know?
Stir the primer well before you start. Apply it in thin, even coats. Avoid putting on too much at once, as this can lead to drips and runs. A thin coat dries faster and adheres better. You want good coverage, but not a thick layer, you see.
Use your small brush for edges and corners. A small foam roller can help with flatter sections of the frame. Work methodically around each window. Make sure you cover all the areas that will be painted. This gives a consistent base, you know?
Let the first coat of primer dry completely. Check the product instructions for drying times. It might take a few hours, or even longer depending on humidity. Rushing this step can ruin your work. Patience is key here, you know?
Once dry, you might apply a second thin coat of primer. This often provides better adhesion and coverage. Again, let it dry fully before moving on. This builds a strong foundation, you know?
Inspect the primed frames for any missed spots or imperfections. If you see any, lightly sand them smooth with fine-grit sandpaper. Then, wipe away the dust and touch up with a bit more primer. This ensures a flawless base for your color, you see.
Painting the Frames: Adding Color
Now comes the fun part: adding color to your aluminum window frames. This is where your vision really comes to life. Choosing the right paint and applying it correctly makes all the difference. It's pretty exciting, you know?
For the topcoat, select an exterior-grade paint that is compatible with your primer. Acrylic latex paints are flexible and resist cracking. Oil-based paints offer a hard, durable finish. Consider the look you want and the conditions in your area. This choice affects how long your paint lasts, you know?
Stir your paint thoroughly. Just like with primer, thin, even coats are best. Applying too much paint at once can cause drips and an uneven finish. It also takes longer to dry. You want to build up the color gradually, you see.
Use your small brush for detailed areas and corners. For wider sections, a small foam roller can give a smoother, more consistent finish. Work in one direction to minimize brush strokes or roller marks. This helps create a professional look, you know?
Apply your first coat of paint. Make sure you cover the primed surface completely. Don't worry if the first coat looks a bit thin. That is normal. Let it dry completely before applying the next coat. This is a very important step, you know?
Check the paint can for recommended drying times between coats. This can vary a lot based on the paint type and weather conditions. If you paint over wet paint, it will pull up and look messy. Wait until it is dry to the touch, and then some, you see.
Apply a second coat of paint. This usually provides full, rich color and better durability. Sometimes, a third coat might be needed, especially with lighter colors over a dark primer. Keep the coats thin and even. This builds up the finish nicely, you know?
Take a step back after each coat to check your work. Look for any missed spots, drips, or areas that need more coverage. It's easier to fix small issues now than later. This attention to detail really helps, you know?
Protecting Your Work: The Final Touches
You've put in the effort, and your window frames look fantastic. Now, it's time to make sure that beautiful finish lasts. Proper curing and careful finishing steps protect your hard work. This is the last part of the painting process, you know?
Paint needs time to cure, not just dry. Drying means the paint feels dry to the touch. Curing means it has hardened completely and reached its full durability. This can take several days, or even weeks, depending on the paint type and environmental factors. Check the paint can for full cure times. This ensures your paint is tough, you see.
Once the paint is dry to the touch, you can carefully remove the painter's tape. Do this slowly and at an angle. If you wait too long, the tape might pull off paint or leave sticky residue. If the paint feels a little tacky, you might score the edge of the tape with a utility knife before pulling. This helps create a clean line, you know?
Inspect your newly painted frames for any small imperfections. You might find a tiny spot you missed or a small drip. These are easy to fix with a small artist's brush and a dab of paint. Just be precise. This makes your work look truly professional, you know?
Maintaining your painted aluminum frames is pretty simple. Clean them gently with mild soap and water when they get dirty. Avoid harsh chemicals or abrasive scrubbers, as these can damage the paint. Regular, gentle cleaning helps keep them looking fresh. This protects your investment, you know?
Keep an eye on the frames over time. If you notice any chips or scratches, touch them up promptly. Addressing small issues quickly prevents bigger problems later. This keeps your frames looking good for many years, you see.
The finished frames will truly transform the look of your home. They add curb appeal and a fresh, modern feel. You can feel proud of the work you've done. It's a great way to update your space, you know?
Common Questions About Painting Aluminum Frames
Many people have similar questions when they consider painting their aluminum window frames. Getting answers beforehand can help you feel more confident about starting your project. These are some common things people ask, you know?
How long does painted aluminum last?
The lifespan of painted aluminum frames really depends on several factors. The quality of your preparation is a big one. Using the right primer and paint makes a huge difference. Environmental conditions, like how much sun and rain the frames get, also play a part. With good prep and quality materials, your paint job can last many years. It's a durable solution, you see.
Do I need to remove the windows to paint the frames?
No, you typically do not need to remove the entire windows to paint the frames. You can paint them in place. This makes the project much less complicated and time-consuming. Just be sure to properly mask off the glass and any surrounding areas you don't want painted. This saves a lot of effort, actually.
What kind of paint is best for aluminum?
For aluminum window frames, you will want an exterior-grade paint. Acrylic latex paints are a popular choice because they are flexible and resist cracking. Oil-based paints also work well and provide a very hard finish. The most important thing is to use a paint that is compatible with your primer. Always check the product labels for suitability on metal surfaces. This ensures a good bond, you know?
To learn more about home improvement projects on our site, and link to this page . You can also find more information about painting aluminum surfaces from paint manufacturers. This helps you get more ideas, you know?
Why not give your home that fresh look it deserves? Start planning your project today. You can achieve a truly updated appearance for your home. It's a project worth doing, you see.

Detail Author:
- Name : Alisha Graham
- Username : natalia27
- Email : sawayn.doyle@herzog.org
- Birthdate : 1992-04-10
- Address : 7460 Sabrina Fields Kuvalischester, NM 21161-3064
- Phone : (413) 426-9598
- Company : Hansen, Oberbrunner and Hegmann
- Job : Opticians
- Bio : Odit rerum quis repudiandae corrupti voluptate unde quam. Nemo voluptatibus quam fugit quis hic dolorem et. Nulla omnis aut pariatur. Nemo animi eos aliquid eveniet reiciendis placeat rerum incidunt.
Socials
linkedin:
- url : https://linkedin.com/in/tillmana
- username : tillmana
- bio : Quibusdam molestiae ut quasi.
- followers : 209
- following : 2711
instagram:
- url : https://instagram.com/amya_official
- username : amya_official
- bio : Voluptatem expedita ratione est rerum et. Autem quaerat nihil a ab dolor iste eos.
- followers : 2370
- following : 532
