
Do you ever feel a little flutter in your heart for something truly special, something handmade and full of wonder? So, it's almost like a tiny spark of imagination takes flight, doesn't it? Crafting your very own cardboard fairy wings is a delightful adventure, a way to bring a bit of magic into everyday moments. This project is just perfect for anyone who loves to create, whether you are making a costume for a child's playtime or a unique accessory for yourself.
There is something wonderfully appealing about creating things with your hands, especially when it comes to whimsical items like fairy wings. It gives you a chance to express yourself, and perhaps even reuse materials you already have around the house. You can make something truly unique, something that no one else will have, and that is a pretty cool feeling. It is a very satisfying process, seeing your ideas take shape.
This guide will show you how to make those lovely wings, from gathering your bits and pieces to adding all the glitter and charm. We will look at what you need, how to cut and shape the cardboard, and some fun ways to decorate them. You will find tips for all sorts of wing designs, and even how to make them comfortable to wear. It is, you know, a simple way to add some sparkle to life.
Table of Contents
- Why Cardboard Fairy Wings Are Just Wonderful
- Getting Started: What You'll Need
- Crafting Your Wings: A Step-by-Step Guide
- Beyond the Basic: Creative Touches and Ideas
- Keeping Your Wings Ready for Flight
- Common Questions About Cardboard Fairy Wings
- Ready for Flight?
Why Cardboard Fairy Wings Are Just Wonderful
Making wings from cardboard is, you know, a truly fantastic idea for so many reasons. For one thing, it is very kind to your wallet. You probably have some cardboard boxes lying around already, just waiting for a new purpose. This makes it a really affordable way to create something special, which is pretty nice.
Then there is the creative side. Cardboard is a wonderfully versatile material. You can cut it into almost any shape you want, bend it a little, and decorate it in countless ways. It lets your imagination run wild, whether you are thinking of delicate butterfly wings or strong, bold dragon wings. It is a blank canvas, really, for all your whimsical ideas.
Another great thing is how simple it is. You do not need fancy tools or special skills. Most people can pick up a pair of scissors and some paint and get started. This makes it a super accessible project for families, for instance, or for anyone who just wants a fun, low-stress craft. It is very satisfying to see a plain box become something magical.
Plus, in some respects, it is a great way to use up things that might otherwise just get thrown away. Giving old boxes a new life as beautiful wings feels good, too. It is a small step towards being a bit more thoughtful about what we use. So, you are making something lovely and helping the planet a little bit, all at once. That is pretty cool, honestly.
Getting Started: What You'll Need
Before you begin your wing-making adventure, it is a good idea to gather all your bits and pieces. Having everything ready makes the process smoother and more fun. You will want a clear space to work, too, perhaps a table where you can spread out without worrying about making a mess. It is very helpful to be organized from the start, truly.
Here is a basic list of what you will likely want to have on hand:
- Cardboard (of course!)
- A pencil or marker for drawing your shapes
- Scissors or a craft knife (be careful with the knife, maybe get an adult to help)
- Glue (a strong craft glue, hot glue, or even tape can work)
- Materials for decorating: paint, glitter, fabric scraps, feathers, ribbons, markers, colored paper
- Straps for wearing the wings: elastic, ribbon, or even old belt material
You can always add more things to this list as your ideas come to you. Maybe some shiny foil, or some dried flowers for a natural look. The important thing is to have the basics ready, then let your creativity guide you. It is, you know, about having fun with what you have.
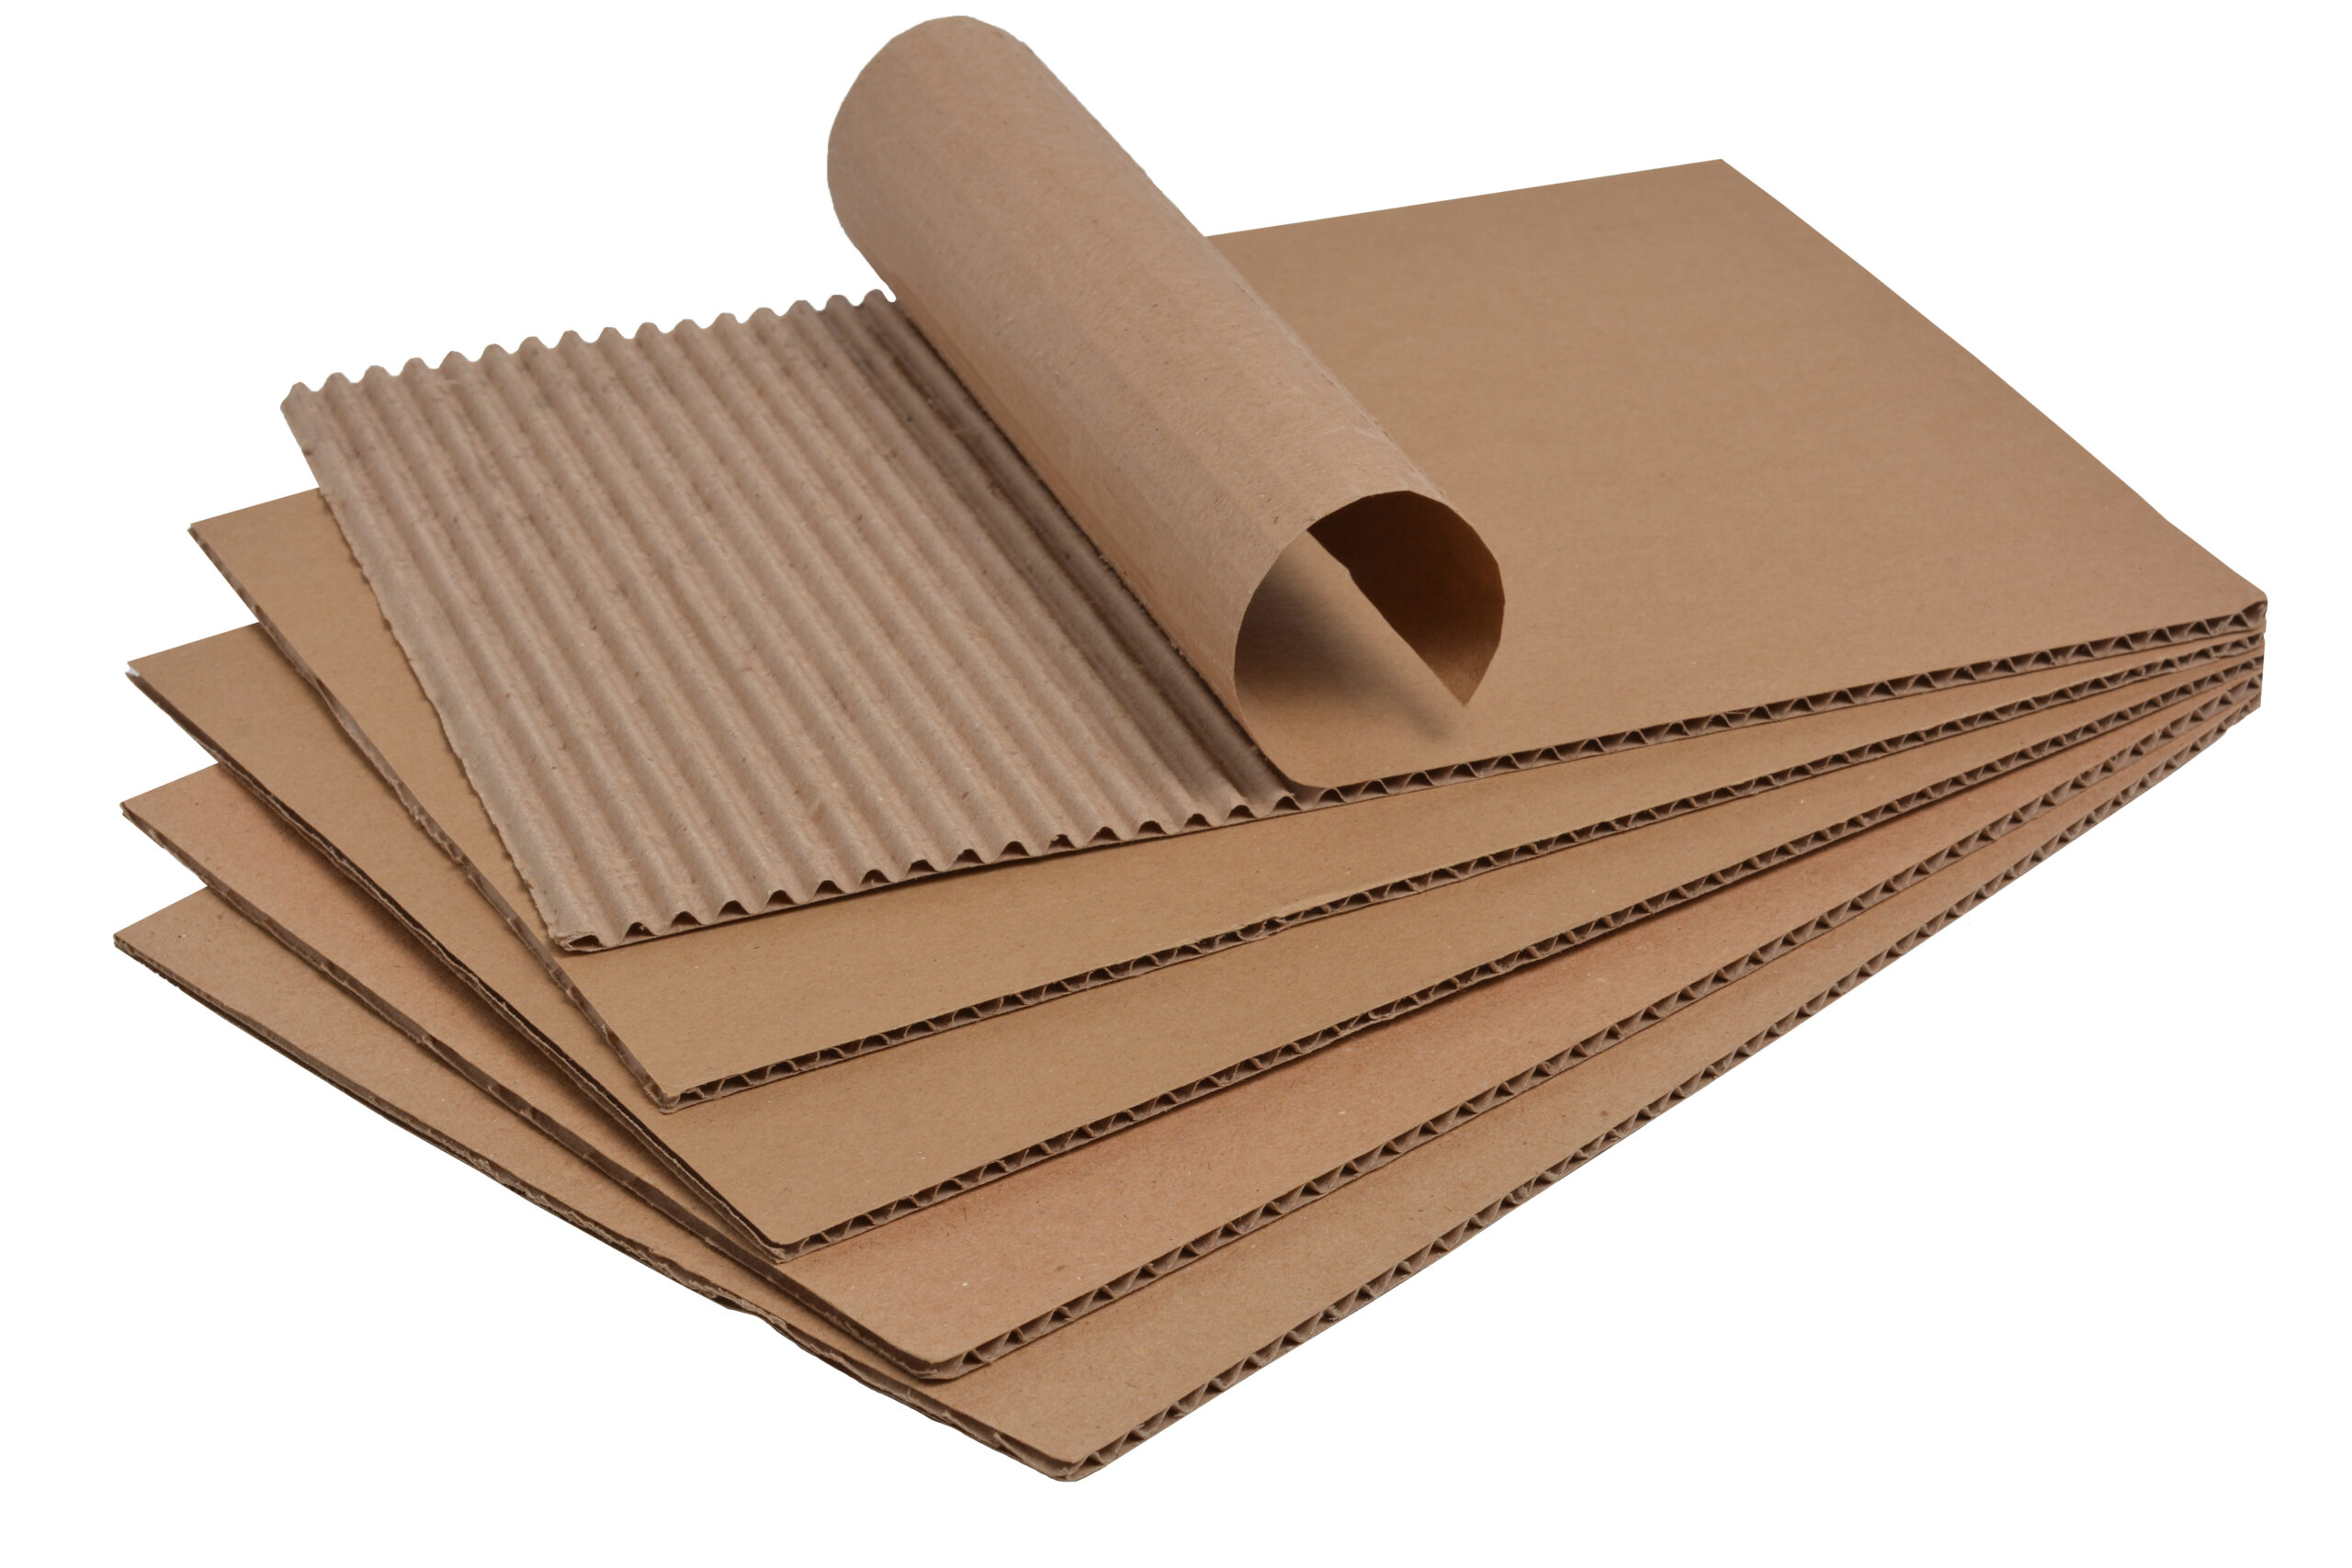
Choosing Your Cardboard
The kind of cardboard you pick really matters for your wings. For smaller wings, or those for very young children, thinner cereal boxes or similar light card stock can work well. They are easy to cut and bend, which is good for little hands. You want something that is not too stiff, in a way, but still holds its shape.
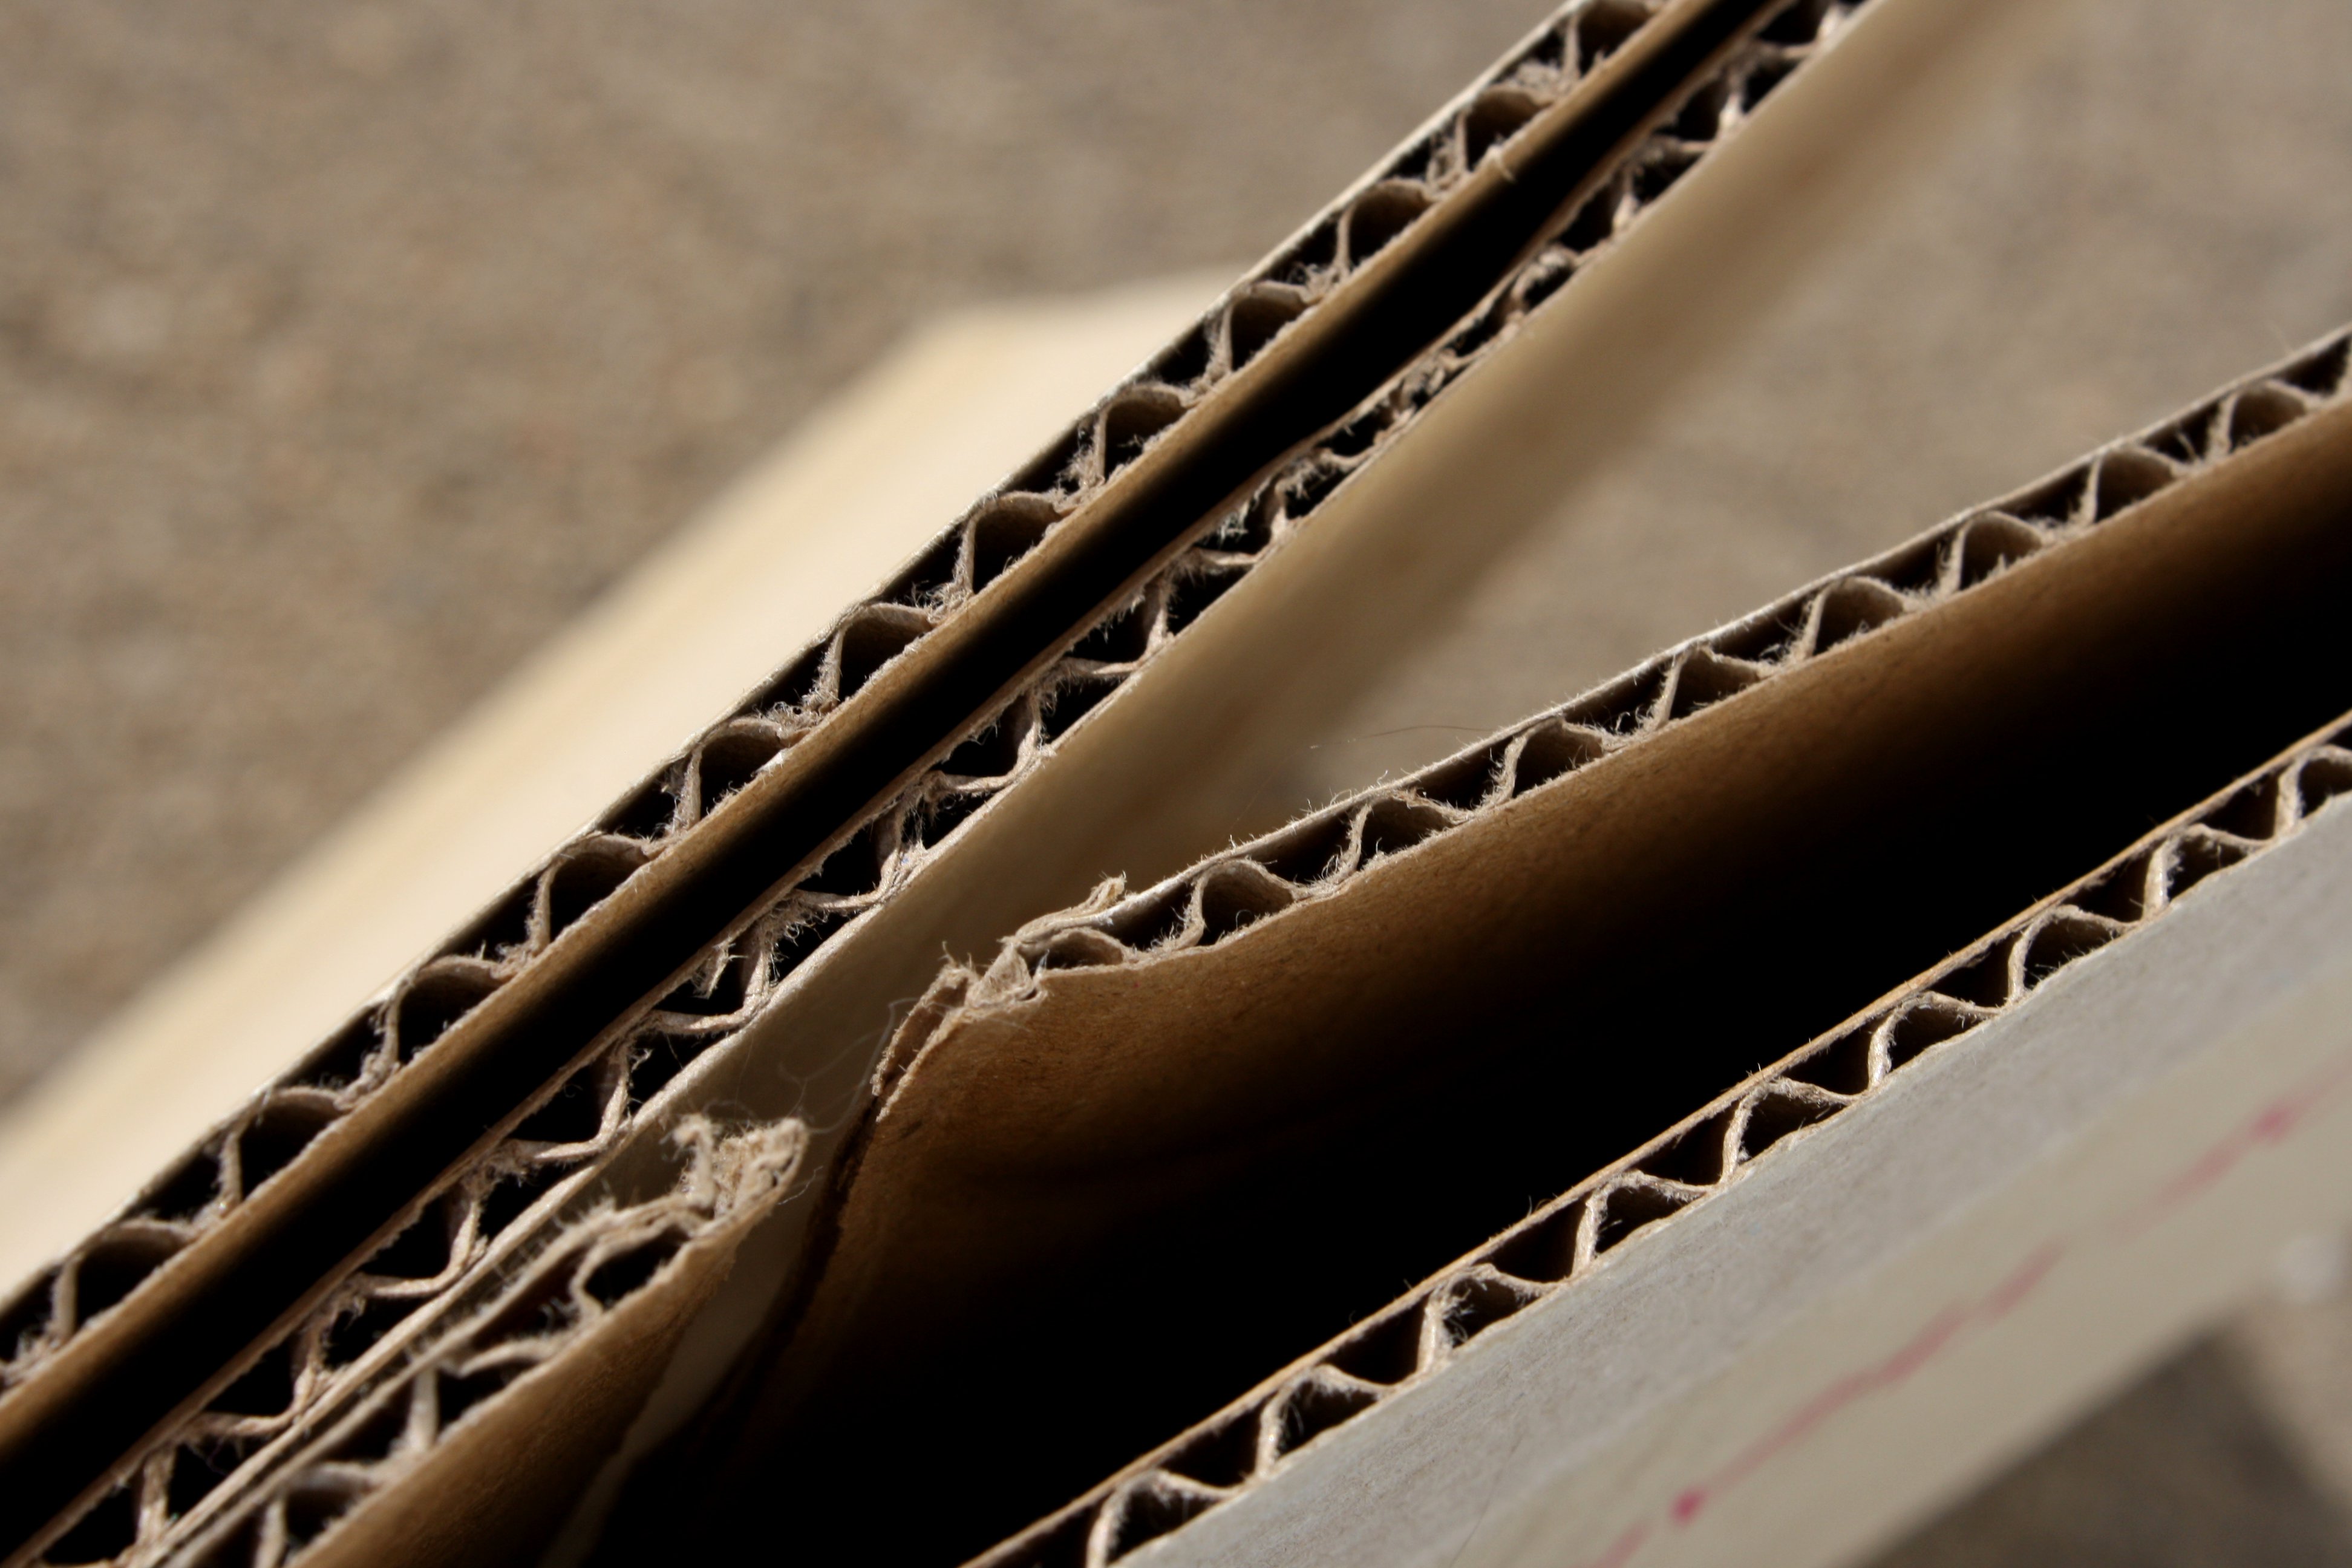
For bigger, sturdier wings, like those for an adult costume or for more active play, you will want corrugated cardboard. Think moving boxes or delivery boxes. These are much stronger and will hold up better to being worn and moved around. Just be sure to pick boxes that are clean and dry, too. Sometimes, you can find really big flat pieces, which are super useful for large designs.
Consider the thickness. If it is too thick, it will be hard to cut and might crack when you try to bend it. If it is too thin, the wings might flop. A good middle ground is often best. You know, like the cardboard from a large appliance box, that tends to be just right for many projects. It is a bit of a balancing act, really, to find the perfect piece.
Crafting Your Wings: A Step-by-Step Guide
Now for the really fun part: making the wings! This is where your vision starts to become real. Take your time with each step, and do not be afraid to adjust things as you go. It is your project, after all, and you can make it just how you like it. Basically, this is where the magic happens.
Designing Your Dream Wings
First, you will want to sketch out your wing shape. You can draw directly onto the cardboard, or if you prefer, draw on a large piece of paper first and then cut it out to use as a template. Think about the kind of fairy you want to be. Are they a graceful butterfly, a zippy dragonfly, or perhaps something more whimsical and unique?
Consider the size. For a child, you want wings that are not too big or heavy. For an adult, you can go a bit grander. Draw one wing shape first, then fold your cardboard or paper in half to trace the other side. This helps ensure your wings are symmetrical, which is generally nice. You want them to look balanced, you know.
Think about the details, too. Will your wings have pointed tips, or soft, rounded edges? Will they have distinct sections, like a butterfly's wings, or be one flowing shape? A little planning here can really help later on. It is a bit like drawing a map before you go on an adventure.
Cutting Out the Magic
Once your design is ready, it is time to cut! For thinner cardboard, good sharp scissors will work just fine. If you are using corrugated cardboard, a craft knife is often better. Always use a cutting mat underneath if you are using a knife to protect your surfaces. And remember, if you are a child, please have an adult help you with sharp tools. Safety first, always, that is very important.
Take your time with the cuts, especially around curves and intricate spots. A clean cut makes the finished wings look much neater. You might need to go over some lines a couple of times with the knife to get all the way through the cardboard. It is a steady hand that makes all the difference here. You want smooth edges, really, for a polished look.
After cutting out the two main wing shapes, you might want to cut out smaller, decorative pieces if your design calls for them. These could be swirls, patterns, or even separate layers to add depth. Just keep all your pieces organized, you know, so nothing gets lost.
Bringing Them to Life with Color and Sparkle
This is where your wings truly come alive! Paint is a wonderful choice for adding color. Acrylic paints work well on cardboard and dry pretty quickly. You can use brushes, sponges, or even your fingers for different effects. Think about vibrant colors, or soft pastels, whatever fits your fairy vision. You can layer colors, too, for more depth.
Glitter is, of course, a fairy wing essential for many. You can sprinkle it on wet paint or apply glue to specific areas and then dust with glitter. Ribbons, lace, and fabric scraps can be glued on to add texture and detail. Feathers, sequins, and beads can also make your wings truly shine. Hot glue works well for attaching these bits, but be careful as it gets very hot.
Do not forget about markers or colored pencils for drawing patterns, swirls, or even tiny leaves and flowers directly onto the wings. You could even use glow-in-the-dark paint for a magical nighttime effect. The possibilities are, you know, pretty much endless here. Let your imagination soar, truly.
For a really neat look, try a clear sealant spray once all your decorations are dry. This can protect your beautiful work and give the wings a nice, finished sheen. It also helps keep glitter from shedding everywhere, which is a common concern. It is a small step that makes a big difference, really.
Making Them Wearable
The best wings are ones you can actually wear! The simplest way to attach wings is by creating loops for your arms. Cut two slits in the center of the wings, one above the other, just big enough for a piece of elastic or ribbon to pass through. Thread the elastic through, making loops for your arms like a backpack. Adjust the loops so they are comfortable and secure.
You can also create a central "spine" piece out of cardboard that connects the two wings. This spine can then be attached to a vest or a piece of fabric that ties around the body. This method can offer more stability, especially for larger wings. It is, you know, a bit more involved, but it works well.
Make sure the straps are comfortable and do not dig into the shoulders. You might want to pad them with a bit of soft fabric or felt. Test the fit before you make anything permanent. You want the wings to feel light and easy to move in, not heavy or awkward. A good fit means more fun, honestly.
Beyond the Basic: Creative Touches and Ideas
Once you have the basic wing-making down, you can start to experiment with all sorts of different looks and styles. There are so many ways to make your wings truly unique, reflecting your own personality or the character you are creating. It is, you know, about pushing the boundaries a little.
For the Littlest Fairies
When making wings for very young children, think about simplicity and safety. Use lighter cardboard, like from cereal boxes, as it is easier for them to carry. Avoid small, loose decorations that could be a choking hazard. Large, colorful shapes cut from construction paper or fabric scraps are perfect. Use child-safe paints and glues, too.
Make the arm loops very soft and wide, perhaps from old t-shirt material, so they are gentle on delicate skin. The goal is comfort and ease of wear, so they can play freely. You want them to feel like a natural part of their magical outfit. A little bit of soft ribbon can also be nice for tying them on, very gentle, you know.
Let them help with the decorating! Even very young children can add stickers, use chunky crayons, or help spread glue for glitter. The process itself is part of the fun. It is about the shared activity, really, as much as the finished product. That is what makes it so special.
Grand Designs for Grown-Ups
For adults, you can go much bigger and more detailed. Consider using multiple layers of cardboard for a more three-dimensional effect. You could even use wire frames underneath the cardboard for extra strength and shaping, though that is a bit more advanced. Think about intricate patterns, perhaps inspired by real insect wings or fantasy art.
Fabric overlays can add a beautiful touch. Sheer fabrics like organza or tulle can be stretched over the cardboard frame and glued down, giving a delicate, translucent look. Then you can paint or glitter on top of the fabric. This gives the wings a really ethereal quality, too. It is a way to make them look very professional, you know.
Think about how the wings will move. A little bit of flexibility can make them look more lifelike. You might score the cardboard lightly in places to allow for a gentle bend. These wings can be a stunning addition to a costume for a party, a festival, or even just for fun photos. They are, you know, a statement piece, really.
Unique Decorating Ideas
Beyond paint and glitter, there are so many other ways to make your wings stand out. Try decoupaging them with old book pages, sheet music, or comic book panels for a unique, artistic look. This gives them a very cool texture and story. You can also use natural elements like pressed leaves, small twigs, or dried flowers for an earthy, woodland fairy vibe.
Consider adding LED fairy lights! Small battery-operated string lights can be carefully glued to the back or edges of the wings for a truly magical glow, especially at night. This makes them really pop, you know, and adds an unexpected element. Just make sure the battery pack is secure and hidden.
You could also experiment with different textures. Glue on crinkled aluminum foil for a metallic, almost armor-like appearance. Or use cotton balls for fluffy, cloud-like wings. Even yarn or string can be used to create interesting patterns. The key is to think outside the box, truly, and use whatever inspires you.
Keeping Your Wings Ready for Flight
Once your beautiful cardboard fairy wings are complete, you will want to keep them looking their best for many adventures. Cardboard, while sturdy, can be a bit sensitive to moisture and rough handling. A little care goes a long way in making your creations last. It is, you know, about protecting your hard work.
Store your wings flat if possible, or hang them gently from a hook where they will not get bent or squashed. Avoid storing them in damp places, like a garage or basement, as moisture can make the cardboard warp or get soft. A closet or under a bed is often a good spot. You want to keep them dry, basically, for a long life.
If they get a little dusty, a soft, dry cloth can gently wipe them clean. If any decorations come loose, a dab of glue can usually fix them right up. Remember, these are handmade items, so a little wear and tear is part of their charm, but a bit of maintenance helps them stay lovely. It is, you know, like tending to a garden, in a way.
Common Questions About Cardboard Fairy Wings
People often have questions when they start a project like this. Here are some common ones that might help you, too. It is good to get answers before you begin, truly.
How do you attach cardboard wings?
The simplest way is to make two loops for your arms. Cut small slits in the center of the wings, near the middle, then thread elastic or ribbon through to create armholes, like a backpack. You can also use a central cardboard piece that connects the wings and then ties around your body. It is, you know, about finding what feels most secure and comfortable for the person wearing them.
What kind of cardboard is best for wings?
For smaller, lighter wings, like for a child, cereal boxes or similar thin card stock work well. For bigger, sturdier wings, especially for adults or active play, corrugated cardboard from shipping boxes is generally best. It is strong and holds its shape nicely. You want something that is not too flimsy, but not so thick it is hard to cut, either. It is a bit of a balance, honestly.
Can you make fairy wings out of recycled materials?
Absolutely! Cardboard itself is often a recycled material, so you are already off to a great start. Beyond the cardboard, you can use old ribbons, fabric scraps from worn-out clothes, plastic bottle caps for gems, or even crumpled aluminum foil for shine. Old magazines or newspapers can be cut into shapes for decorating, too. It is a fantastic way to give items a new purpose, in a way, and be kind to the planet.
Ready for Flight?
Making cardboard fairy wings is a truly rewarding project. It brings out your creative spirit and gives you something beautiful and unique at the end. Whether you are making them for a costume party, a play date, or just for the joy of creating, the process is full of fun. So, gather your materials, let your imagination take hold, and get ready to create some magic.
You can learn more about crafting fun projects on our site, and link to this page for more cardboard ideas. It is, you know, a simple step towards a world of creative possibilities.
Detail Author:
- Name : Madonna Funk I
- Username : schmeler.dan
- Email : jayne87@yahoo.com
- Birthdate : 1996-11-24
- Address : 70701 Hand Court Suite 898 Swifttown, MN 15313
- Phone : (986) 878-8998
- Company : Ritchie-Rutherford
- Job : Molder
- Bio : Voluptates voluptatem eaque voluptate aut neque sed. Et provident aut tempore ad eum. Vitae ipsum voluptatum vitae placeat. Dolor accusantium voluptatibus assumenda quia porro.
Socials
instagram:
- url : https://instagram.com/ortizs
- username : ortizs
- bio : Consequatur eveniet nihil alias quas. Inventore deleniti aut quas enim. Molestiae unde omnis ut.
- followers : 2384
- following : 1773
twitter:
- url : https://twitter.com/susie7294
- username : susie7294
- bio : Sed est reiciendis mollitia nulla ut. Fugiat incidunt numquam dolorum non.
- followers : 4109
- following : 2641
