
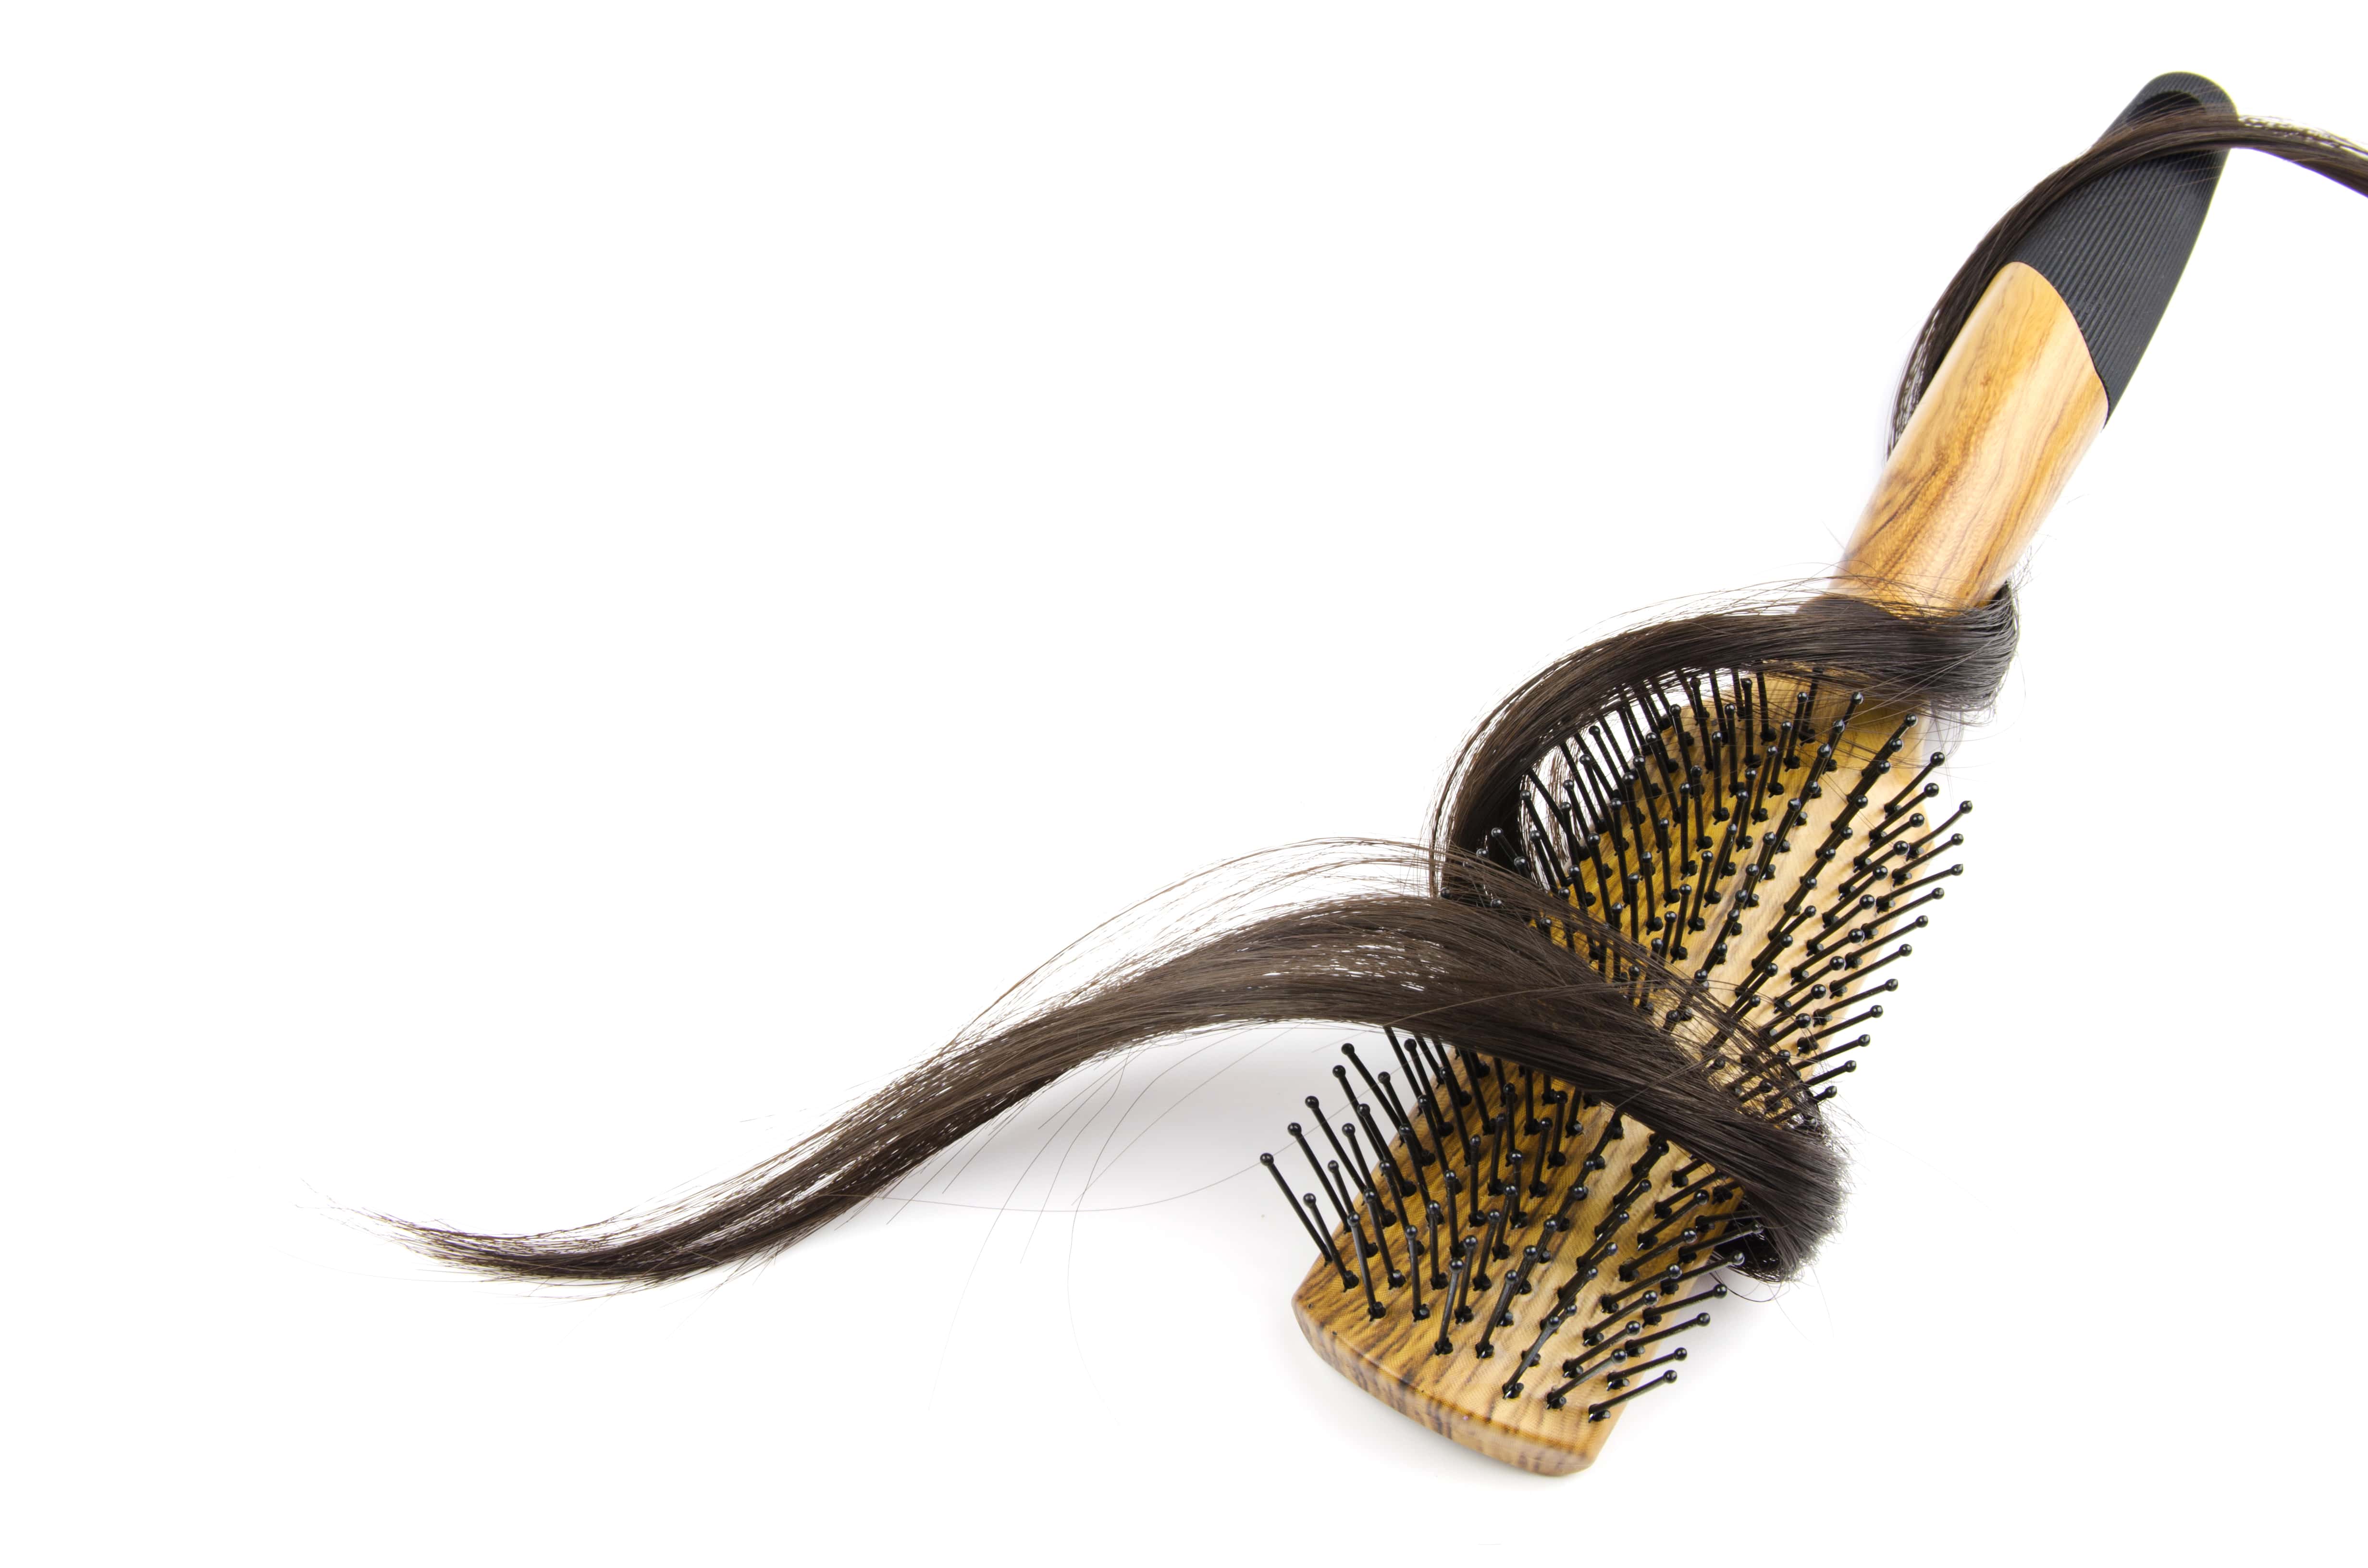
Do you ever think about what builds up in your hairbrush? It's a bit surprising, perhaps, but your hairbrush can become quite a collection point for all sorts of things. We use our brushes daily, yet sometimes, you know, we forget they need a little care too. A dirty brush can actually put unwanted stuff back into your clean hair, which is a bit of a shame, really. So, finding a good way to keep it tidy is quite important for healthy, happy hair.
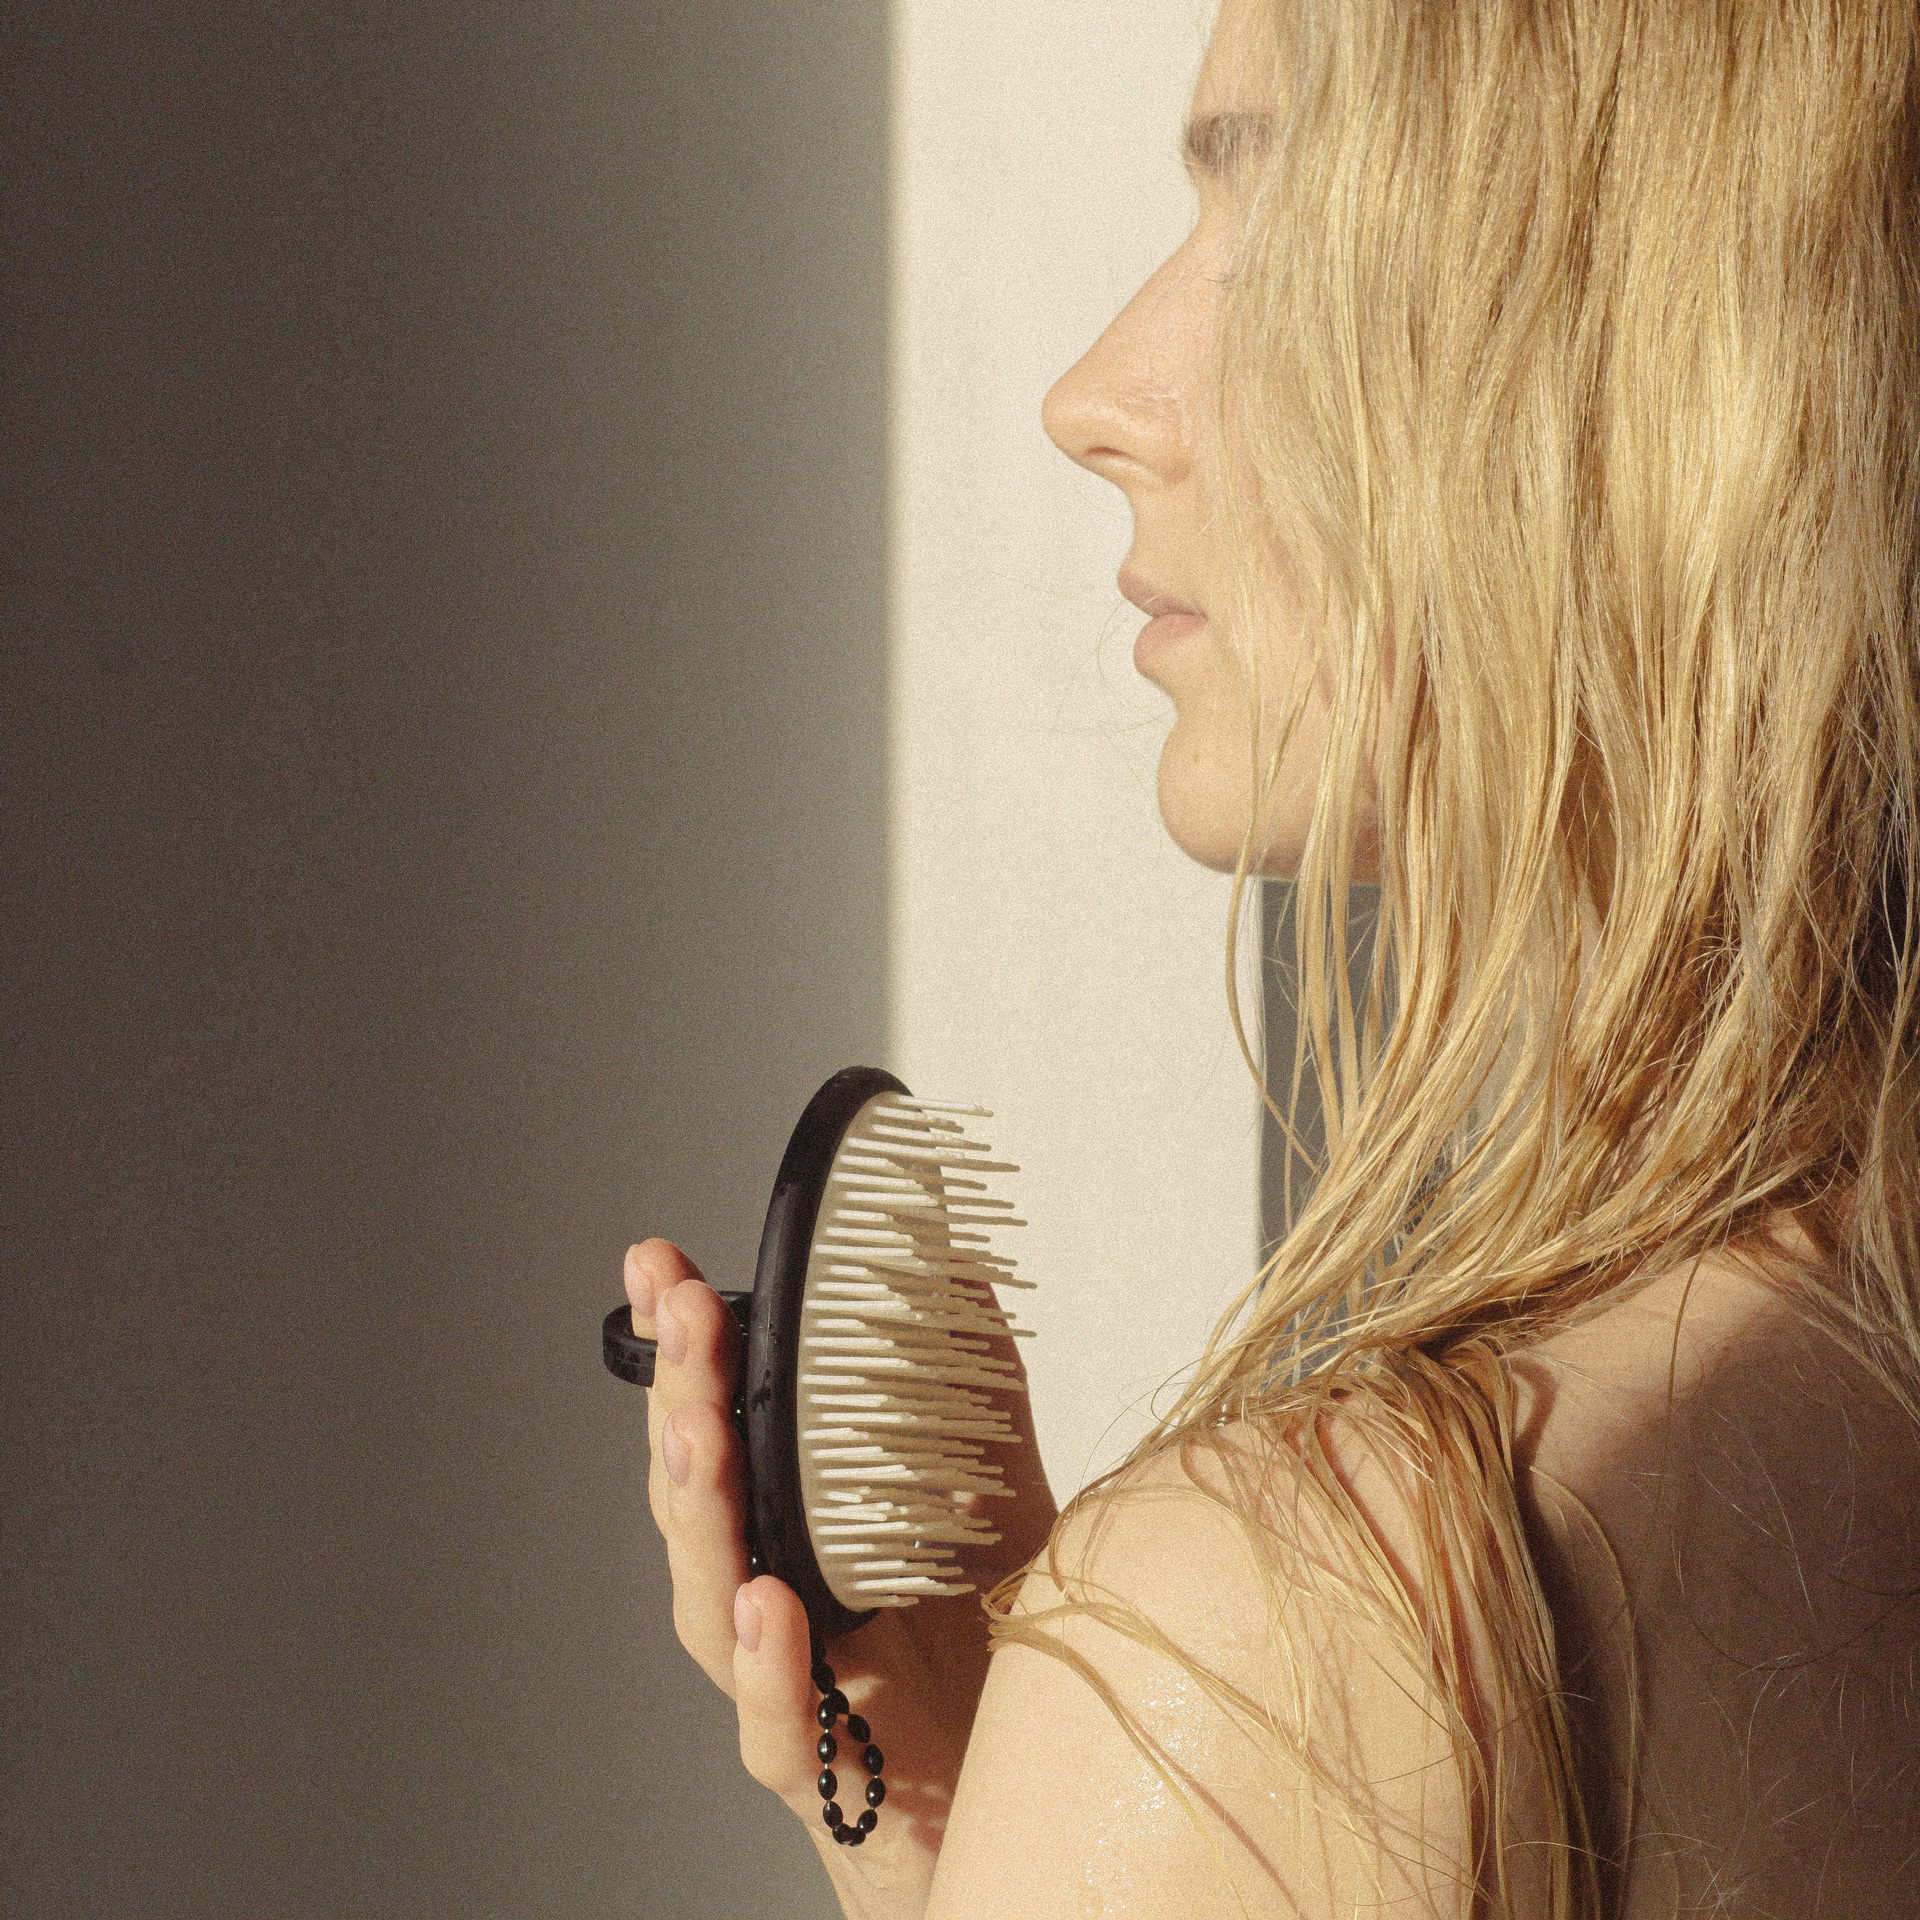
Keeping your hairbrush clean is a simple step that makes a real difference for your hair's overall look and feel. Think about it: every time you brush, you're not just styling; you're also picking up loose strands, dust, product residue, and even skin cells. This mixture can make your brush feel gunky, and it might even start to smell a little off. A truly clean brush, on the other hand, helps your hair stay fresh, as a matter of fact.
Luckily, there's a very easy, natural way to get your brush sparkling again: vinegar! It's a common household item, yet it works wonders for cleaning. Using vinegar helps remove that sticky buildup and leaves your brush feeling fresh and ready to use. It’s a pretty simple solution for a common problem, honestly.
Table of Contents
- Why Clean Your Hairbrush, Anyway?
- Why Vinegar is a Great Choice
- What You'll Need
- Step-by-Step Guide to Cleaning Your Hairbrush with Vinegar
- Tips for Different Brush Types
- How Often Should You Clean Your Hairbrush?
- Beyond Cleaning: Maintaining Your Brush
- Frequently Asked Questions (FAQs)
Why Clean Your Hairbrush, Anyway?
You might wonder why it's such a big deal to clean something that just touches your hair. Well, actually, your hairbrush gathers a lot more than just stray hairs. It collects dust from the air, bits of dead skin, and all the styling products you use, like sprays, gels, and mousses. This mixture creates a pretty grimy buildup on the bristles and base of your brush, so it's a good idea to remove it.
When you brush your hair with a dirty tool, you're essentially re-depositing all that accumulated grime back onto your clean strands. This can make your hair look dull, feel greasy faster, and even weigh it down. It’s like washing your face with a dirty cloth; it just doesn't feel quite right, does it?
Beyond how your hair looks, there's a hygiene aspect too. A brush that isn't clean can become a home for bacteria and even some types of fungi, especially in damp environments like bathrooms. Keeping things free of contamination is important, as my text notes, and this applies to your personal tools too. Regular cleaning helps keep these unwanted guests away, which is pretty reassuring.
Also, a brush filled with gunk won't work as well. The bristles might become stiff or clumped together, making it less effective at detangling or styling your hair. Over time, this buildup can even damage the brush itself, shortening its useful life. So, a little cleaning effort can really extend how long your favorite brush lasts, you know.
Why Vinegar is a Great Choice
Vinegar, particularly white vinegar, is a truly fantastic natural cleaner. It's affordable, readily available, and very effective for a lot of household tasks, including keeping things free from dirt or pollution, as my text explains. For hairbrushes, it has several key advantages that make it an excellent choice, so it's worth considering.
First off, vinegar is a natural disinfectant. It helps to get rid of unwanted germs and bacteria that can gather on your brush over time. This means your brush becomes free of contamination, which is super important for your hair and scalp health. It’s a simple way to keep things sanitary, actually.
Secondly, vinegar is brilliant at cutting through grease and product buildup. Hair products often leave a sticky residue that plain water can't always tackle. The acidity of vinegar helps to break down these stubborn substances, making them easier to wash away. This leaves your bristles feeling truly clean and separate, which is quite nice.
Another benefit is its ability to neutralize odors. If your brush has developed a stale or unpleasant smell, vinegar can help eliminate it, leaving a fresh scent. The vinegar smell itself usually fades completely once the brush is dry, so you don't have to worry about your hair smelling like vinegar, more or less.
It's also generally safe for most hairbrush materials, including plastic and natural bristles. While you do need to be a little careful with wooden parts, the vinegar solution is much gentler than harsh chemical cleaners. This makes it a very practical and honest choice for regular cleaning, you know.
Finally, it's incredibly cost-effective. You probably already have a bottle of vinegar in your pantry, making this a budget-friendly way to maintain your beauty tools. There's no need to buy special, expensive brush cleaners when this simple solution works so well, which is pretty convenient.
What You'll Need
Getting your hairbrush sparkling clean with vinegar doesn't require a lot of fancy supplies. You probably have most of these items around your home already, so it's very easy to get started right away.
- White Vinegar: This is your main cleaning agent. Regular distilled white vinegar works best.
- Warm Water: Not hot, just comfortably warm.
- A Bowl or Basin: Something large enough to fully submerge your brush.
- An Old Toothbrush or Small Cleaning Brush: This will help you scrub away stubborn grime.
- Scissors or a Pointed Object: For removing tangled hair. A pen or a hairpin can work too.
- A Towel: For drying your brush afterwards.
Step-by-Step Guide to Cleaning Your Hairbrush with Vinegar
Cleaning your hairbrush with vinegar is a straightforward process, honestly. Just follow these steps, and you'll have a much cleaner brush in no time. It's a simple routine that can make a big difference, you know.
Step 1: Remove Loose Hair
Before you introduce any liquids, the very first thing to do is get rid of all the loose hair caught in the bristles. This is a pretty important initial step, as it allows the cleaning solution to reach all parts of the brush. You can use your fingers, but sometimes the hair is really tangled, so a pair of small scissors or a pointed object like a pen or the end of a rat-tail comb can be very helpful here.
Carefully cut through any tightly wound hair strands at the base of the bristles. Be gentle so you don't damage the brush itself. Then, just pull out all the hair you can. You might be surprised by how much comes out, as a matter of fact! This step alone will make your brush look much tidier, you know.
Step 2: Prepare the Vinegar Solution
Now it's time to create your cleaning mixture. In your bowl or basin, combine warm water and white vinegar. A good general ratio is one part white vinegar to two parts warm water. So, if you use one cup of vinegar, you'd add two cups of warm water. This dilution is effective yet gentle enough for most brushes, which is pretty good.
The warm water helps to loosen up any grime, and the vinegar does the heavy lifting of breaking down oils and product buildup. You can use apple cider vinegar if that's all you have, but white vinegar is usually preferred because it's stronger and doesn't have the same distinct smell or potential for slight discoloration, which is something to consider.
Step 3: Submerge and Soak
Once your solution is ready, carefully place your hairbrush into the bowl, making sure the bristles are fully submerged. If your brush has a wooden handle, try to keep the wood out of the water as much as possible, as prolonged soaking can damage wood. For plastic brushes, you can submerge the whole thing, more or less.
Let the brush soak for about 15 to 30 minutes. This soaking time allows the vinegar to really work its magic, loosening up all that stubborn dirt, product residue, and any oils that have built up. You might even see some gunk starting to come off into the water during this time, which is pretty satisfying, you know.
Step 4: Gentle Scrubbing
After soaking, take the brush out of the solution. Now, grab your old toothbrush or small cleaning brush. Gently scrub the bristles and the base of the brush. Pay extra attention to the areas where hair and product tend to gather most, which is typically right at the base of the bristles. The soaking should have made the gunk much easier to remove, so it shouldn't require too much effort, as a matter of fact.
You'll see the remaining dirt and residue come off quite easily. For really tough spots, you might need to apply a little more pressure, but generally, a gentle scrub is all that's needed. This step helps to ensure your brush is free from any dirty marks, pollution, bacteria, etc., just as my text describes a truly clean item, so it's important.
Step 5: Rinse Thoroughly
Once you're satisfied that you've scrubbed away all the gunk, it's time for a good rinse. Hold your hairbrush under cool, running water. Make sure to rinse every single bristle and the entire base of the brush until all traces of the vinegar solution and any loosened dirt are gone. This is a very important step to prevent any residue from being left behind.
You want the water running off the brush to be completely clear, with no suds or cloudy appearance. A thorough rinse ensures your brush is truly clean and ready for drying, which is pretty much the final step. This process helps your brush feel free from impurities, which is what we're aiming for, you know.
Step 6: Air Dry Completely
After rinsing, shake off any excess water from your brush. Then, lay it on a clean towel with the bristles facing down. This position allows any remaining water to drip away, preventing it from pooling at the base of the bristles or in the handle. Proper drying is crucial to prevent mold or mildew from forming, which would defeat the purpose of cleaning, so it's a key part of the process.
Allow the brush to air dry completely, which might take several hours or even overnight, depending on the brush type and humidity. Do not use a hairdryer or place it near a heat source, as this can damage the bristles or the brush material. Once it's completely dry, your hairbrush will be fresh, clean, and ready to use again, which is very satisfying, you know. You can learn more about cleaning tools on our site, and also find tips on maintaining your haircare essentials.
Tips for Different Brush Types
While the basic vinegar cleaning method works for most hairbrushes, a few types need a little extra consideration. Knowing these slight differences can help you keep your brushes in top shape, so it's worth a moment to think about it.
For **plastic brushes**, you can generally follow the steps exactly as described. They are very durable and can handle full submersion in the vinegar solution without issue. These are probably the easiest to clean, as a matter of fact.
**Boar bristle brushes** are fantastic for distributing natural oils and adding shine, but they can collect product buildup quickly. When cleaning these, be gentle with the scrubbing. The natural bristles can be a bit more delicate than plastic ones. The vinegar solution is still great for breaking down oils on these brushes, which is pretty helpful.
**Wooden brushes** need the most care. As mentioned, prolonged exposure to water can damage the wood, causing it to swell, crack, or even warp. For wooden brushes, try to only submerge the bristle part, keeping the handle dry. If the handle does get wet, dry it immediately and thoroughly. Some people prefer to just spray a vinegar solution onto the bristles of wooden brushes rather than soaking them, which is a safer approach, you know.
**Paddle brushes** often have a cushioned base. Make sure this cushion dries completely, as water trapped inside can lead to mold. Laying them bristle-side down on a towel is especially important for these. They can take a little longer to dry, so be patient, actually.
**Round brushes** can be tricky due to their shape. Use your old toothbrush to get into all the curves and around the barrel. They might also need a bit more time to dry thoroughly because of their dense bristle patterns, so give them plenty of air, more or less.
How Often Should You Clean Your Hairbrush?
The frequency of cleaning your hairbrush really depends on how often you use it and what you put in your hair. A good rule of thumb is to remove loose hair after every use. This simple habit prevents major tangles and keeps the brush tidier between deep cleans, which is a very good practice, you know.
For a thorough vinegar clean, aim for once a week if you use a lot of styling products, have oily hair, or use your brush daily. If you use fewer products and have drier hair, cleaning it every two to three weeks might be enough. It's about finding a rhythm that works for you and your hair's needs, as a matter of fact.
If you notice your brush looks visibly dirty, feels sticky, or starts to smell, then it's definitely time for a clean, regardless of your schedule. Think of it like a mini-reset for your hair tools, ensuring they are always free from dirt, stain, or impurities, as my text says. A clean brush simply works better, and it helps your hair look its best, too.
Beyond Cleaning: Maintaining Your Brush
Cleaning your hairbrush with vinegar is a fantastic step, but there are also other simple habits that can help keep your brush in great condition between deep cleans. These little actions can extend the life of your brush and ensure it always performs its best, so they're worth adopting, you know.
First, always remove loose hair from your brush after each use, or at least every few uses. This prevents hair from building up and becoming a tangled mess that's harder to remove later. It's a quick task that saves a lot of trouble, honestly.
Secondly, try to store your brush in a clean, dry place. Avoid leaving it in damp areas, like directly on the edge of a wet sink or in a humid shower stall, as this can encourage mold or mildew growth, especially on wooden brushes. A drawer or a vanity top is usually a better spot, as a matter of fact.
Consider the type of products you use. Some very heavy or sticky styling products can leave more residue than others. If you use a lot of these, you might find yourself needing to clean your brush more often. Being mindful of your product choices can slightly reduce the cleaning frequency, which is pretty convenient.
Finally, know when it's time to replace your brush. Even with regular cleaning, brushes don't last forever. If the bristles are bent, broken, or missing, or if the cushion has lost its bounce, it might be time for a new one. A damaged brush won't style your hair effectively and can even cause breakage. So, while cleaning extends its life, sometimes a fresh start is just what's needed, you know.
Frequently Asked Questions (FAQs)
People often have questions about cleaning their hairbrushes, especially when using a natural solution like vinegar. Here are some common inquiries, as a matter of fact.
Is vinegar safe for all hairbrush materials?
Generally, yes, vinegar is safe for most hairbrush materials, particularly plastic and natural bristles. However, you need to be a little careful with wooden handles or bases. Prolonged soaking can damage wood, so try to keep wooden parts out of the water or dry them very quickly if they get wet. For brushes with wooden components, a quick dip or a spray-and-wipe method for the bristles might be a better choice, you know.
How often should I clean my hairbrush thoroughly?
The ideal frequency for a thorough clean depends on your usage and hair type. If you use a lot of styling products, have oily hair, or brush daily, cleaning your brush with vinegar every week or two is a good idea. For less frequent use or drier hair, every three to four weeks might be enough. The key is to notice when your brush starts to look or feel dirty, so it's a bit flexible, you know.
What kind of vinegar should I use for cleaning my hairbrush?
White distilled vinegar is typically the best choice for cleaning your hairbrush. It's strong enough to break down grime and oils, and it doesn't leave behind any color or strong lingering odor once the brush is dry. While apple cider vinegar can also work, white vinegar is usually preferred for its cleaning power and neutral characteristics, which is pretty straightforward, honestly.

Detail Author:
- Name : Mr. Osbaldo Beer IV
- Username : alanis31
- Email : marvin.mariela@yahoo.com
- Birthdate : 1985-07-19
- Address : 176 Klein Station Port Makayla, CT 31629
- Phone : 731.814.6297
- Company : Rau-Johnson
- Job : Cook
- Bio : Quas iusto sit minima consequuntur. Tenetur laborum voluptate quam blanditiis optio exercitationem. Iure ipsa porro dignissimos.
Socials
tiktok:
- url : https://tiktok.com/@wisozk2004
- username : wisozk2004
- bio : Iusto dolor blanditiis explicabo ea accusamus.
- followers : 3107
- following : 2047
facebook:
- url : https://facebook.com/wisozka
- username : wisozka
- bio : Aut voluptatem ut consequatur. Sit voluptas quo sint vitae provident.
- followers : 2804
- following : 1719
