
Have you ever gazed at those sparkling, jewel-like candies and thought, "I wish I could make that?" Well, you absolutely can! Creating crystal candy at home is a delightful adventure, a bit like growing edible gems right in your kitchen. It's a wonderful way, you know, to bring a touch of magic to your everyday cooking.
For anyone who loves spending time in the kitchen, making something truly special, this is a recipe that offers so much joy. Just imagine, the satisfaction of seeing those clear, sugary crystals form, it's pretty amazing. We believe that a great recipe is at the heart of every memorable meal, or, in this case, a truly memorable treat.
This isn't just about making candy; it's about helping create those "kitchen wins" we all love. Whether you're looking for a fun project with the kids or simply want to try something new and visually stunning, this crystal candy recipe is, in a way, perfect. It’s an easy idea that tastes as good as it looks, and that's something we can all appreciate, right?
Table of Contents
- Why Make Crystal Candy? The Sweet Appeal
- Getting Started: What You'll Need
- The Simple Steps to Sparkling Success
- Tips for Perfect Crystal Candy Every Time
- Flavor and Color Ideas for Your Edible Gems
- Common Questions About Crystal Candy
- Your Next Sweet Adventure
Why Make Crystal Candy? The Sweet Appeal
Making crystal candy, or what some call edible rock candy, is an incredibly rewarding process, you know, because it combines a little bit of science with a lot of sweetness. It’s a project that brings a unique kind of wonder to your kitchen, seeing something beautiful form from just a few simple things.
It’s also a fantastic activity for families. Kids, especially, are fascinated by the way the crystals grow over time. It’s, in a way, a patient craft, but the payoff is so worth it when you finally get to enjoy your own homemade, sparkling treats.
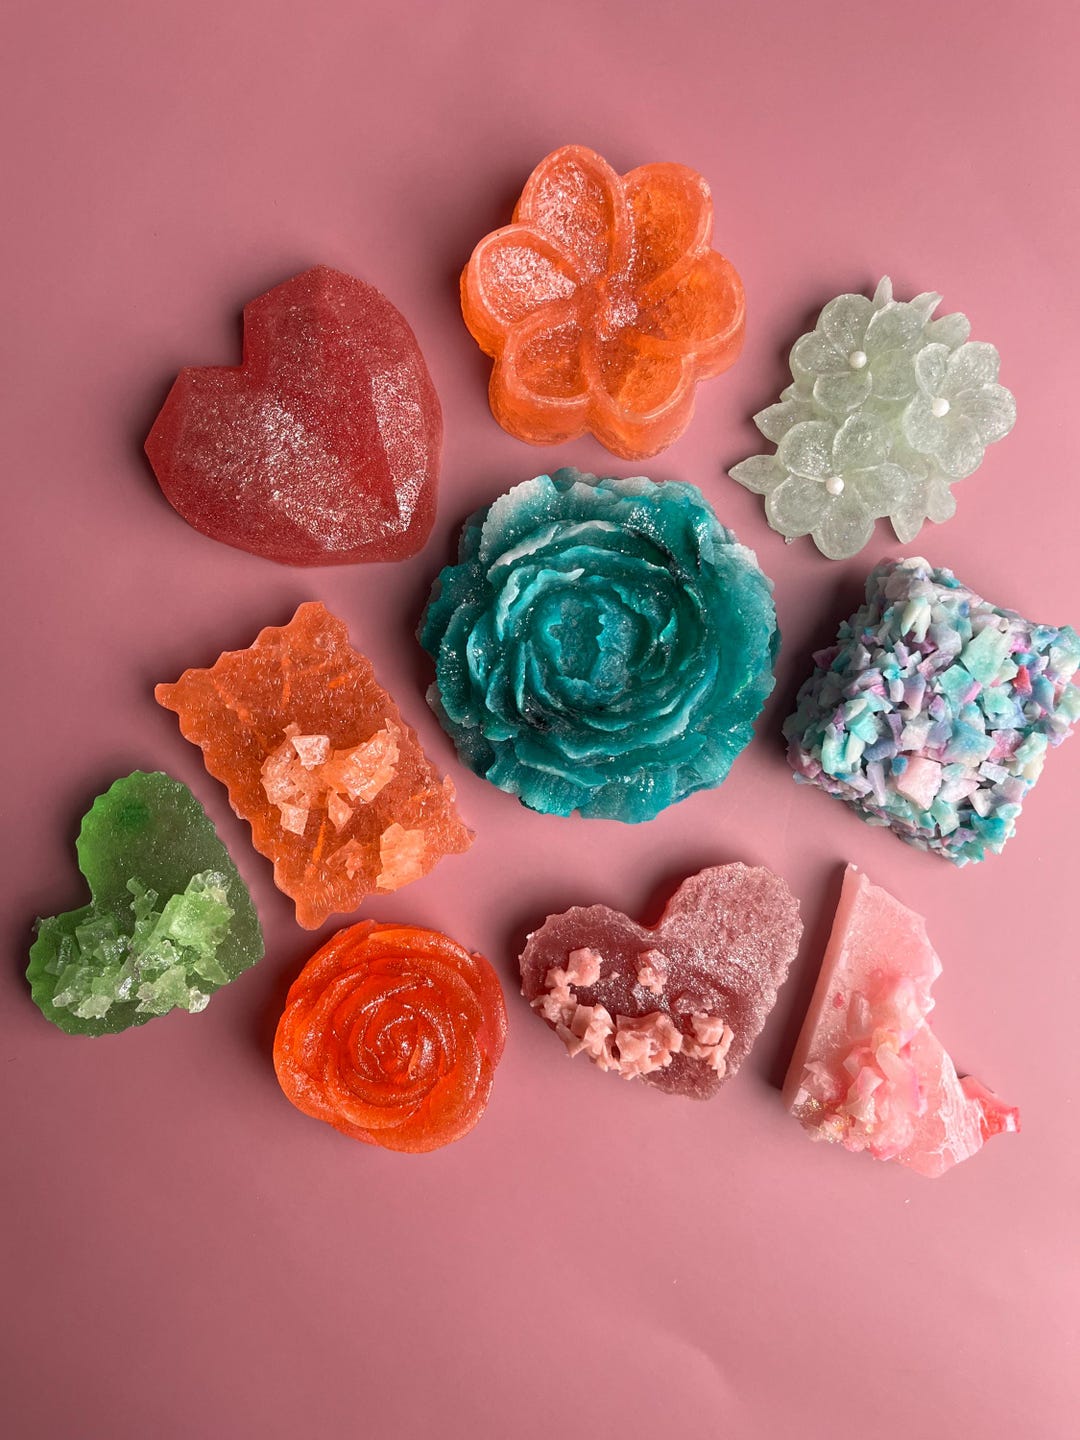
Plus, homemade crystal candy makes for truly special gifts or decorations. Think about it: a little jar of these glimmering candies could really brighten someone's day, or perhaps, make a dessert table look extra fancy. It's about creating something with love, from our kitchens to yours, and that's always a good thing.
Getting Started: What You'll Need
Before we jump into the fun part of making, it's a good idea to gather everything you'll need. This helps make the process smooth and stress-free, which is, you know, what we're all about here. Having your ingredients and tools ready means less scrambling and more joy in your cooking experience.
Essential Ingredients
The beauty of crystal candy is how few ingredients it actually takes. You probably have most of these in your pantry already, which is pretty convenient. It’s amazing what you can create with just a few basic items, honestly.
Granulated Sugar: This is the star of our show, obviously. You’ll need a good amount, as it forms the very structure of our crystals.
Water: Plain old tap water works just fine. It helps dissolve the sugar, creating the solution where our crystals will grow, you see.
Optional: Food Coloring: If you want to add a pop of color to your crystals, a few drops of liquid food coloring will do the trick. This is where you can get really creative, you know, with different shades.
Optional: Flavoring Extracts: Vanilla, peppermint, cherry, or any other extract you fancy can give your crystal candy a wonderful taste. Just a little bit goes a long way, so, be careful not to add too much.
Handy Tools and Equipment
Having the right tools makes all the difference, especially when you're working with hot sugar. Safety first, always! These items are pretty standard kitchen fare, so, you probably won't need to buy anything special.
Heat-Proof Glass Jars or Tall Glasses: These will be the growing chambers for your crystals. Make sure they are clean and can handle hot liquids, you know, without cracking.
Saucepan: A medium-sized saucepan is perfect for making your sugar solution. Something with a heavy bottom is always a good choice, as a matter of fact, for even heating.
Wooden Skewers or String with Paper Clips: These act as the "seeds" for your crystals to form on. If using string, tie a paper clip to one end to weigh it down, otherwise, it just floats.
Clothespins or Pencils: To suspend your skewers or string in the jars, keeping them from touching the bottom or sides. This is a pretty clever trick, actually.
Measuring Cups and Spoons: For accurate measurements of sugar and water, which is, you know, quite important for success.
Whisk or Spoon: For stirring your sugar solution until it's completely dissolved. A good whisk makes this a bit easier, frankly.
The Simple Steps to Sparkling Success
Making crystal candy is a process that requires a little patience, but the steps themselves are quite straightforward. It’s less about complicated techniques and more about letting nature do its thing, you know, with a little help from us.
Preparing Your Solution
This is where the magic begins. Getting your sugar solution just right is, in a way, the most important part of this whole recipe. It sets the stage for beautiful crystal growth.
Combine Sugar and Water: In your saucepan, pour in 2 cups of water and 4 cups of granulated sugar. Yes, that’s a lot of sugar, but it’s what makes the crystals grow so well, obviously.
Heat and Stir: Place the saucepan over medium heat. Stir constantly until all the sugar has completely dissolved. You want the water to be clear, with no grainy bits at the bottom, so, keep stirring until it's really smooth.
Bring to a Boil: Once the sugar is dissolved, stop stirring and bring the mixture to a rolling boil. Let it boil for about 1 minute. This ensures the solution is saturated, which is, you know, pretty important for crystal formation.
Cool Slightly: Remove the saucepan from the heat and let it cool for about 15-20 minutes. This prevents the crystals from forming too quickly on the surface of your jars, actually.
Add Color and Flavor (Optional): If you’re adding food coloring or flavoring, stir them in now. A few drops are usually enough for vibrant color, and for flavor, start with a little and add more if you like, you know, to taste.
Setting the Stage for Growth
This is the fun part where you prepare your "growing chambers." It's a bit like setting up a science experiment, but one you can eat later, which is, you know, pretty cool.
Prepare Your Skewers/Strings: If using skewers, dampen them slightly and roll them in granulated sugar. This gives the crystals something to "grab onto." If using string, tie a paper clip to one end and wet the string, then roll it in sugar, too. This step is, as a matter of fact, crucial for getting good crystal growth.
Pour Solution into Jars: Carefully pour the slightly cooled sugar solution into your clean glass jars. Fill them almost to the top, leaving about an inch of space, you know, for air.
Suspend Your Seeds: Gently lower a sugar-coated skewer or string into each jar. Use a clothespin or pencil laid across the top of the jar to hold the skewer/string in place. Make sure it doesn't touch the bottom or sides of the jar, because, if it does, the crystals won't form properly.
The Waiting Game and Harvest
Now comes the hardest part: waiting! But honestly, watching the crystals grow is part of the fun. It’s a real lesson in patience, in a way.
Find a Quiet Spot: Place your jars in a quiet spot where they won’t be disturbed. A cool, dry place away from direct sunlight is ideal. Covering the jars loosely with a paper towel can help keep dust out, too.
Observe the Growth: Over the next few days, you'll start to see tiny crystals forming on your skewers or strings. It’s pretty neat to watch them get bigger and bigger each day, you know.
Harvest Your Crystals: After about 5-7 days (or when the crystals are as big as you like), carefully remove the skewers or strings from the jars. The remaining sugar solution can be saved for another batch or discarded, obviously.
Dry Your Candy: Place your crystal candy on a wire rack over a baking sheet to dry completely. This might take a few hours. Once dry, they’ll be firm and ready to enjoy! This step is, you know, quite important for a good texture.
Tips for Perfect Crystal Candy Every Time
Even though the process is simple, a few little tricks can make a big difference in your crystal candy success. These tips come from, you know, years of home cooking experience and helping create those "kitchen wins."
Cleanliness is Key: Make sure your jars and tools are super clean. Any dust or impurities can hinder crystal growth, so, a quick wash and rinse is a good idea.
Don't Stir After Boiling: Once your sugar solution is boiling, resist the urge to stir it. Stirring can cause the sugar to crystallize prematurely, which is, you know, not what we want.
Saturated Solution: The more sugar you dissolve in the water, the bigger and faster your crystals will grow. This recipe uses a high sugar-to-water ratio for a reason, you see.
Patience, Patience, Patience: Crystal growth takes time. Don’t get discouraged if you don’t see huge crystals on day one. Give it a few days, and you'll be surprised, honestly.
Experiment with Temperature: While a cool, undisturbed spot is generally best, some people find success in slightly warmer environments. It’s worth trying different spots if your first batch isn’t quite what you hoped for, in a way.
Storage: Once dry, store your crystal candy in an airtight container at room temperature. They'll keep for a few weeks, though they probably won't last that long!
Flavor and Color Ideas for Your Edible Gems
This is where you can really let your creativity shine! The possibilities for flavor and color combinations are, you know, pretty much endless. Think of your crystal candy as a blank canvas for your taste buds and eyes.
Fruity Fun: Try extracts like strawberry, raspberry, lemon, or lime for bright, cheerful flavors. Pair them with matching colors like red, pink, yellow, or green. This is, you know, a classic choice.
Minty Fresh: Peppermint extract with clear or light blue coloring makes for refreshing treats, especially around the holidays. It’s a very popular option, actually.
Warm & Cozy: Vanilla extract is always a winner, giving a comforting, sweet taste. You could even try a touch of cinnamon extract for something different, in a way.
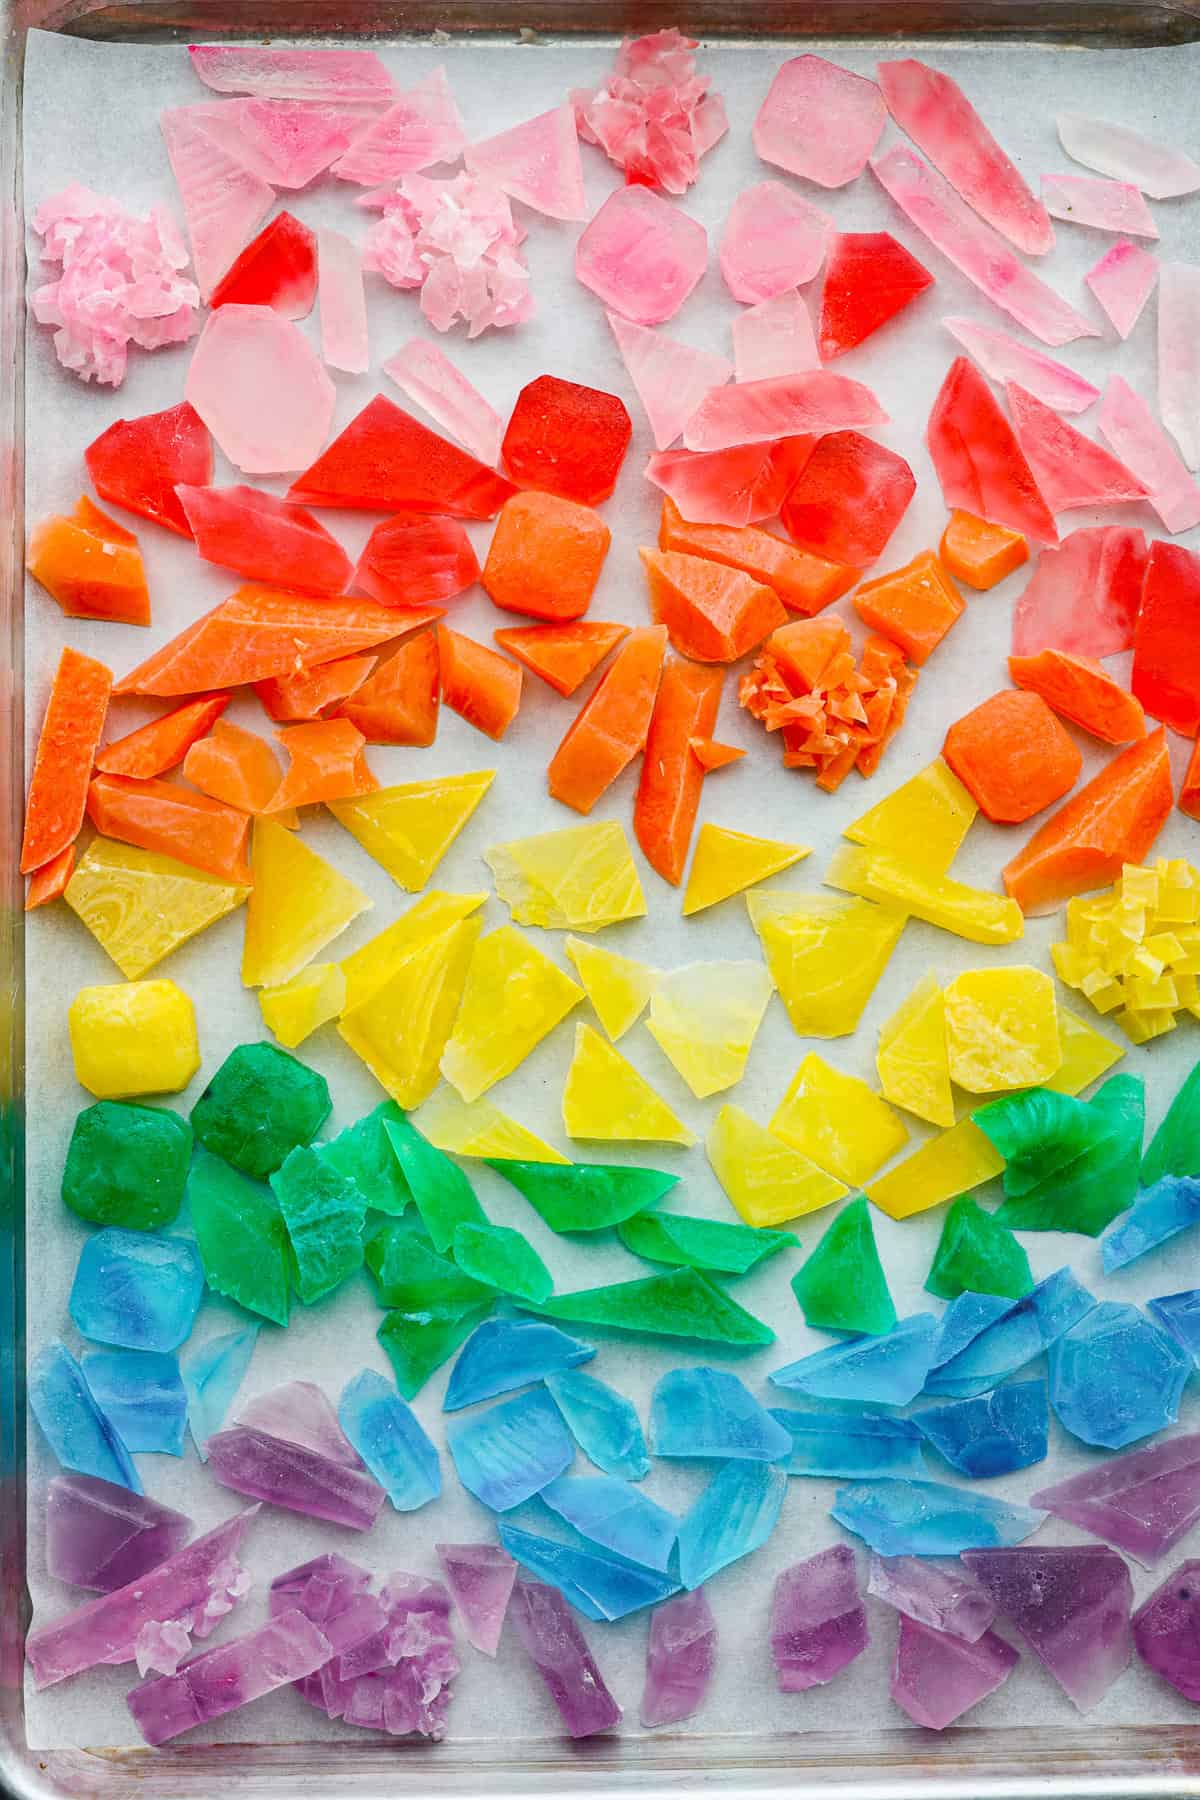
Rainbow Delight: Make several small batches, each with a different color and flavor, to create a stunning array of rainbow crystal candy. This looks incredibly impressive, obviously.
Natural Colors: For a more natural approach, consider using natural food colorings derived from fruits and vegetables, though the colors might be a bit more subtle, you know.
Common Questions About Crystal Candy
It's completely normal to have questions when trying a new recipe, especially one that involves a bit of science. We've gathered some of the most common questions people ask about making crystal candy, you know, to help you out.
Why aren't my crystals growing?
Sometimes, the sugar solution isn't saturated enough, or the environment isn't quite right. Make sure you used the correct sugar-to-water ratio (4 cups sugar to 2 cups water) and that all the sugar dissolved completely. Also, try to keep the jars in a cool, undisturbed spot. Any movement or temperature fluctuations can, you know, slow things down.
Can I use sugar substitutes for crystal candy?
Unfortunately, no. Crystal candy relies on the specific molecular structure of sucrose (granulated sugar) to form its unique crystal shape. Sugar substitutes typically don't crystallize in the same way, so, you won't get the desired results with them, honestly.
How do I make bigger crystals?
For bigger crystals, patience is key. Let your candy grow for a longer period, up to 10-14 days. Also, ensure your sugar solution is as saturated as possible, meaning no undissolved sugar at the bottom of your saucepan. A slightly rough surface on your skewer, like rolling it in sugar, gives the crystals more places to start growing, too.
Your Next Sweet Adventure
Making crystal candy is a truly rewarding experience, offering both a fun project and a delicious, beautiful treat. It embodies that feeling of creating "kitchen wins" and, you know, finding joy in cooking. We hope this guide helps you cook delicious meals with less stress and more joy, just like we aim to do with all our recipes.
Whether you're making these for a special celebration or just because you want a little sparkle in your day, remember that a great recipe is at the heart of every memorable meal. So, go ahead, give this a try, and enjoy the sweet success!
Learn more about easy dinner ideas on our site, and link to this page for more sweet treats.
For more insights into the science behind sugar crystallization, you might find this external resource helpful: The Exploratorium's Science of Candy.

Detail Author:
- Name : Mr. Osbaldo Beer IV
- Username : alanis31
- Email : marvin.mariela@yahoo.com
- Birthdate : 1985-07-19
- Address : 176 Klein Station Port Makayla, CT 31629
- Phone : 731.814.6297
- Company : Rau-Johnson
- Job : Cook
- Bio : Quas iusto sit minima consequuntur. Tenetur laborum voluptate quam blanditiis optio exercitationem. Iure ipsa porro dignissimos.
Socials
tiktok:
- url : https://tiktok.com/@wisozk2004
- username : wisozk2004
- bio : Iusto dolor blanditiis explicabo ea accusamus.
- followers : 3107
- following : 2047
facebook:
- url : https://facebook.com/wisozka
- username : wisozka
- bio : Aut voluptatem ut consequatur. Sit voluptas quo sint vitae provident.
- followers : 2804
- following : 1719
