
Have you ever thought about making your Raspberry Pi talk directly to other gadgets without a central server getting in the way? It's a pretty cool idea, isn't it? This approach, often called peer-to-peer or P2P, opens up a whole bunch of possibilities for how your devices connect. It’s a bit different from how we usually set up our home Wi-Fi, which typically uses a router to manage everything. So, it's almost like giving your devices their own special way to chat.
This time, the goal is to give you a good basic practical look at P2P, especially when it comes to Wi-Fi, networks, routers, and groups. We will walk through the ideas behind setting up these kinds of connections, showing how your little Raspberry Pi can become a hub for direct device talks. It’s a way to get your tech working together in a more independent fashion, which is quite handy for many smart projects, you know?
We’ll cover how to get your Raspberry Pi ready for this kind of setup, making sure your Wi-Fi hardware is up to the task. We'll also talk about the software bits you need to tweak, like your `wpa_supplicant.conf` file, which can sometimes be a bit tricky if you've messed it up. This guide helps you get a clearer picture of how to make your Raspberry Pi devices link up directly, making secure IoT connections a bit simpler to manage, as a matter of fact.
Table of Contents
- What is P2P on Raspberry Pi?
- Why Choose P2P for Your Raspberry Pi Projects?
- Getting Your Raspberry Pi Ready for P2P
- Setting Up Wi-Fi Direct (P2P) on Your Raspberry Pi
- Real-World Uses for Raspberry Pi P2P
- Troubleshooting Common P2P Connection Issues
- Comparing P2P to Traditional Networking for Raspberry Pi
- Frequently Asked Questions About Raspberry Pi P2P
- Wrapping Up Your P2P Raspberry Pi Journey
What is P2P on Raspberry Pi?
P2P, or peer-to-peer, on a Raspberry Pi means setting up a direct link between your Pi and another device. This connection skips the usual route through a central router or server. It's a bit like two people talking directly to each other without a middle person. This can be super useful for specific kinds of projects, like when you want devices to communicate quickly and privately, you know?
Think of it as a special kind of Wi-Fi connection, often called Wi-Fi Direct. This lets devices create their own small, private network. It’s pretty different from joining your home Wi-Fi, where everything goes through your router. This guide delves into the intricacies of setting up a secure IoT P2P connection using Raspberry Pi, offering a comprehensive walkthrough that caters to both beginners and those with a bit more experience, so it's quite helpful.
The core idea is to establish a seamless and secure linkage. This involves a sequence of steps to ensure everything works just right. It’s about getting your Raspberry Pi to talk directly to another gadget, which is rather cool for specific tasks. For instance, you might want to exchange data without needing an intermediary server, which is where tools like remoteiot come into play, apparently.
Why Choose P2P for Your Raspberry Pi Projects?
Choosing P2P for your Raspberry Pi offers some distinct advantages, especially for certain kinds of projects. One big reason is security. When devices talk directly, there’s less chance for outside interference or snooping, which is quite a comfort. This makes it a good choice for sensitive data or control signals, so it's a bit safer.
Another benefit is the ability to communicate even when there’s no internet or a main router available. Imagine setting up a small network of sensors in a remote area; P2P lets them share information directly. This can be very handy for off-grid or isolated setups. Plus, it can simplify things by removing the need for complex port forwarding or server configurations, which is often a headache for many, you know?
For IoT projects, P2P means your devices can react faster to each other. There's no delay waiting for data to travel to a server and back. This can be really important for applications that need quick responses, like automated systems or real-time monitoring. Basically, it gives the user a good basic practical way to connect things, which is pretty neat.
Getting Your Raspberry Pi Ready for P2P
Before you can get your Raspberry Pi talking directly to other devices, there are a few things you need to check and set up. This involves looking at both the physical parts and the programs on your Pi. It’s all about making sure your system is ready for this direct communication, you know?
Essential Hardware and Software Bits
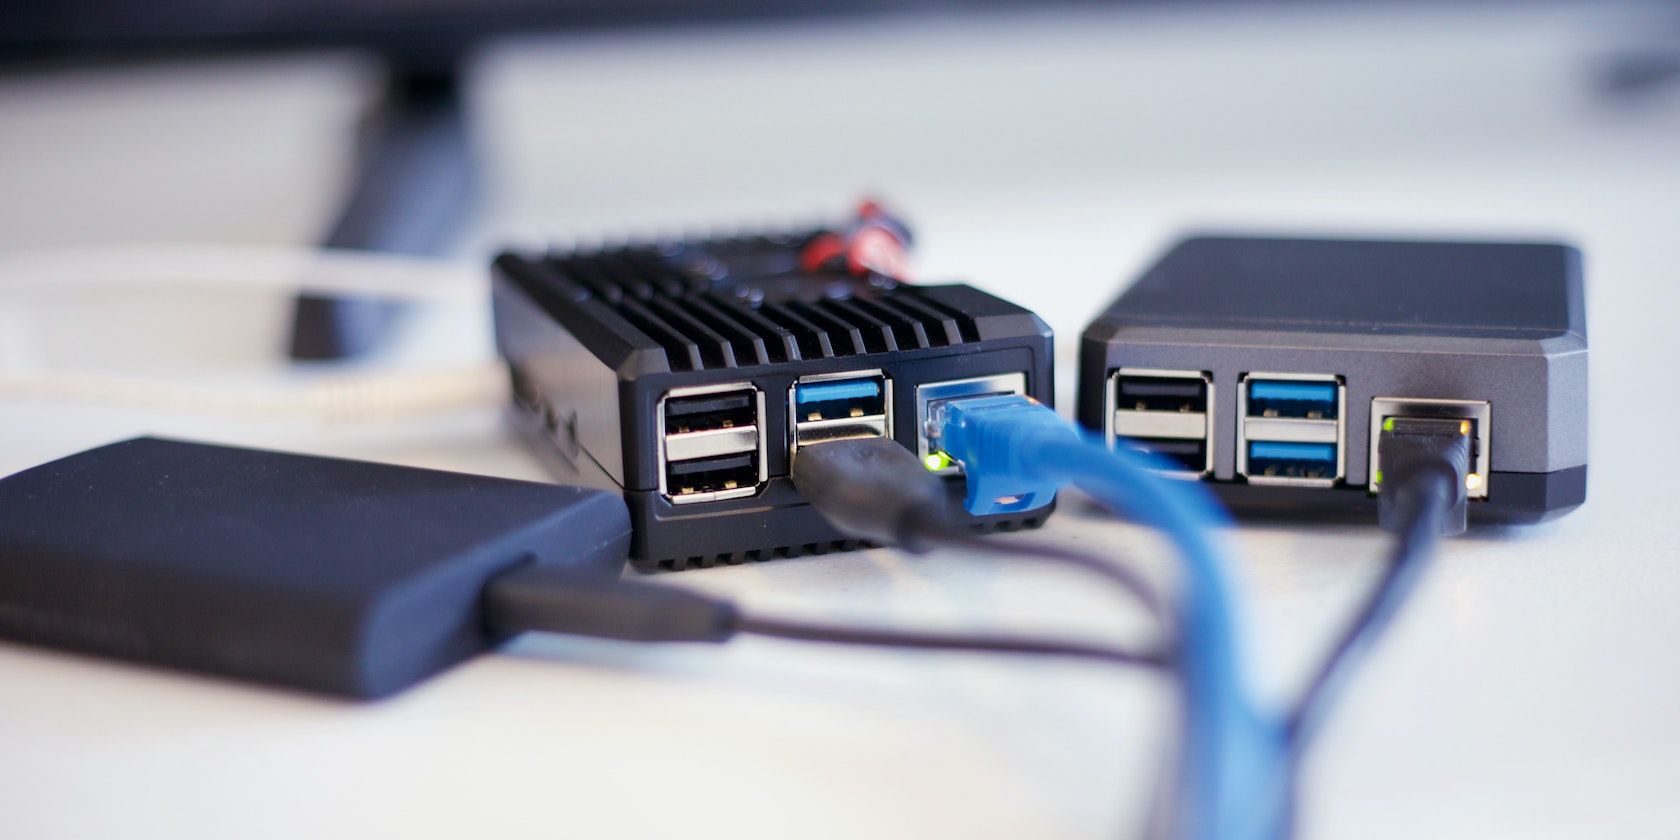
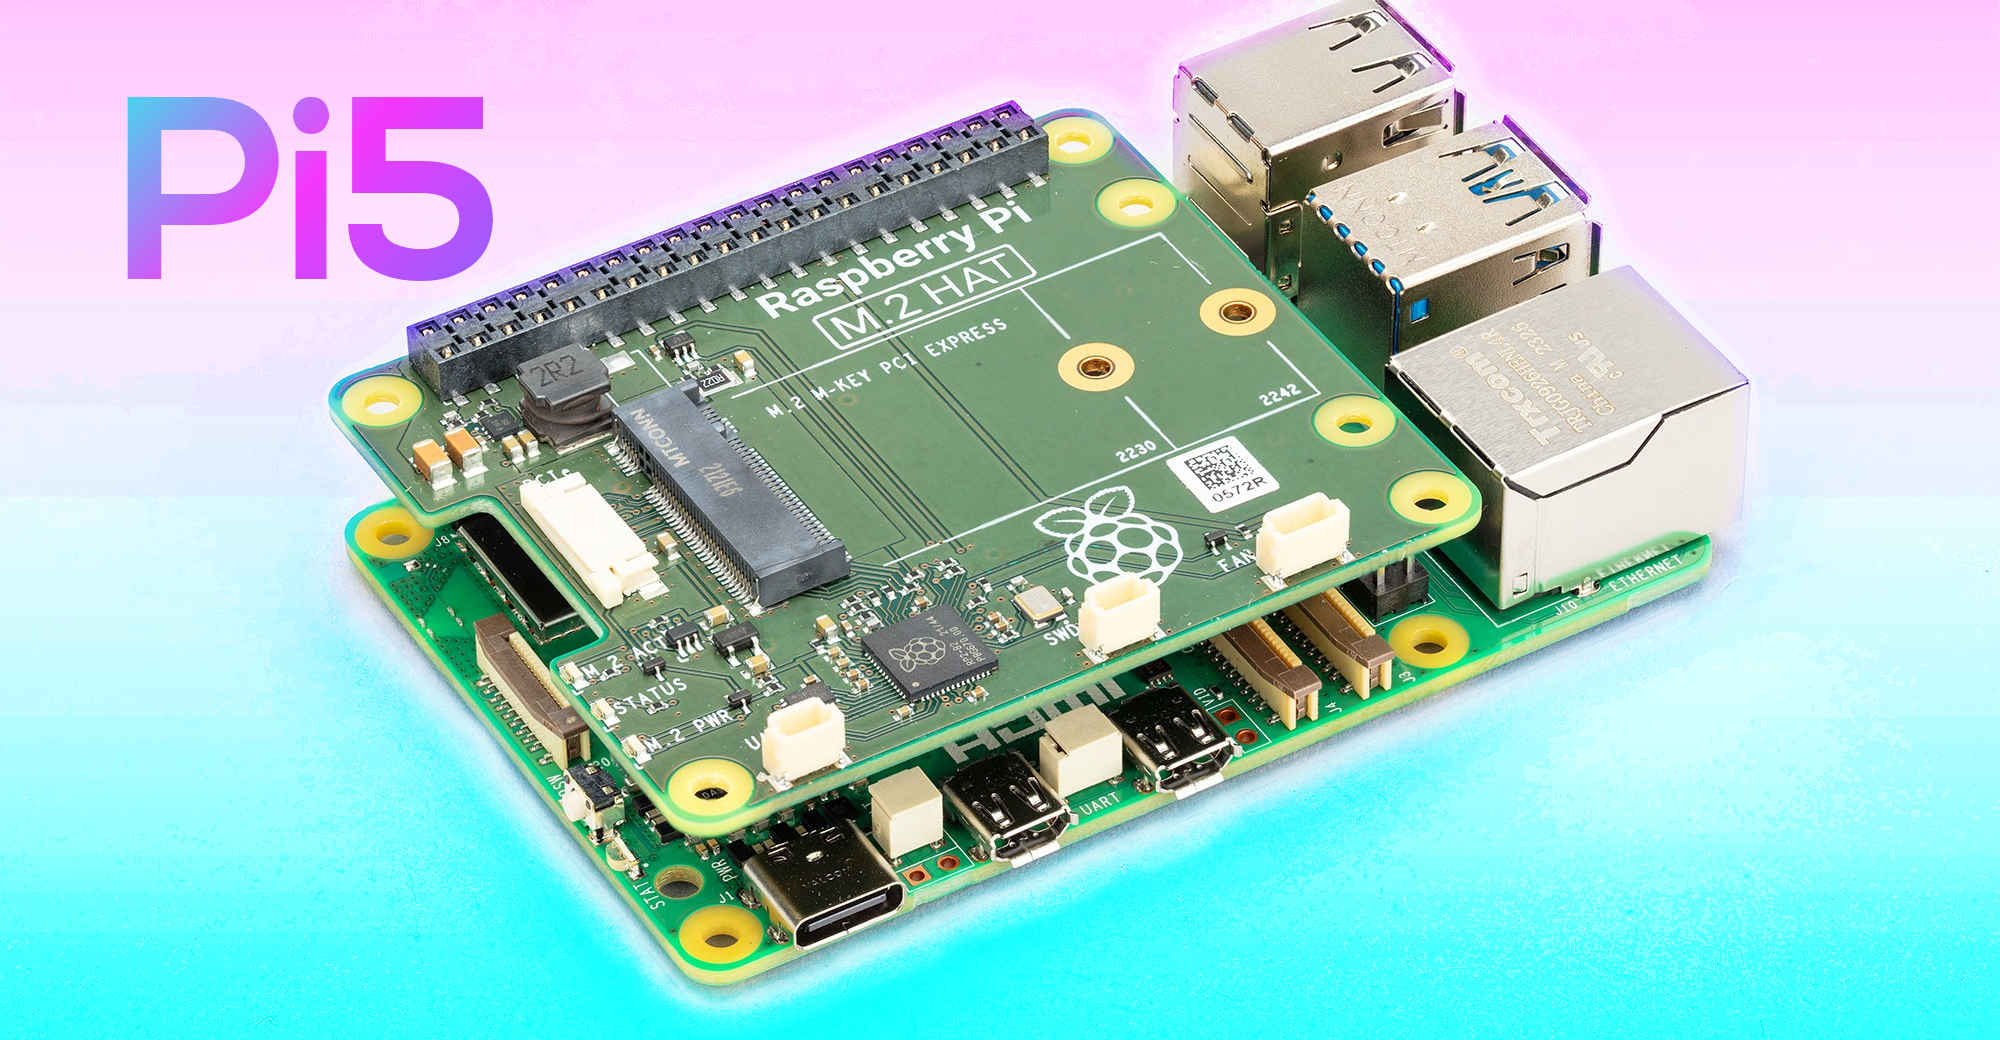
First off, your Raspberry Pi's Wi-Fi chipset needs to support P2P features. Not all Wi-Fi chips can do this, so it’s a good idea to check your specific Pi model or Wi-Fi adapter. Most newer Raspberry Pi models, like the Pi 3, 4, or Zero 2 W, usually have this capability built-in, which is quite convenient. If your Wi-Fi hardware doesn't support P2P, then these features won't work, even if you try to enable them, apparently.
On the software side, the main tool you'll be working with is `wpa_supplicant`. This is a program that helps manage Wi-Fi connections on Linux systems, including your Raspberry Pi. For P2P to work, you have to build `wpa_supplicant` with `config_p2p=y` in its configuration. This tells the program to include the necessary P2P functions when it's put together. It's a small but important step, actually.
Building wpa_supplicant for P2P
Building `wpa_supplicant` from source might sound a bit complex, but it gives you control over which features are included. You'll typically download the source code, make that small change in the `.config` file to add `config_p2p=y`, and then compile it. This ensures that when you run `wpa_supplicant`, it has the P2P capabilities ready to go. This can be a bit more involved than just installing a package, but it's often needed for full P2P functionality, you know?
Once `wpa_supplicant` is built with P2P support, you're one step closer. Remember, P2P features are enabled if your Wi-Fi chipset supports P2P. If your hardware isn't capable, even a custom-built `wpa_supplicant` won't make it happen. So, it's a two-part check: good hardware and the right software build, which is pretty important.
Setting Up Wi-Fi Direct (P2P) on Your Raspberry Pi
Getting Wi-Fi Direct, or Wi-Fi P2P, working on your Raspberry Pi involves some careful setup of configuration files. This is where you tell your Pi how to behave when trying to connect directly to another device. It's a bit like writing down the rules for a private conversation, so it's quite specific.
Configuring wpa_supplicant.conf
The `wpa_supplicant.conf` file is where a lot of the magic happens for Wi-Fi connections. I've added the contents of my `wpa_supplicant.conf`, as I have messed up my settings before and learned a lot from it. This file will contain the network details and P2P group settings. You'll define parameters for your P2P group, such as the operating channel and any passphrases needed for other devices to join. It’s a bit like setting up a mini Wi-Fi hotspot, but for direct device-to-device communication, you know?
For example, you might have lines that define the P2P group interface, specify the group owner role, and set the network name. It's about telling `wpa_supplicant` exactly how to create and manage this direct link. This comprehensive guide will take you through the intricate process of establishing a P2P network on your Raspberry Pi, and it includes getting this file just right. We will delve into the essential hardware and software parts needed, which is quite helpful.
Establishing the Connection
After you've configured `wpa_supplicant.conf`, you'll typically use commands to start the P2P interface and initiate the connection. This might involve commands to search for other P2P devices or to invite them to join your Pi's P2P group. It's a bit like broadcasting your presence and waiting for a handshake. Setting up Wi-Fi Direct (Wi-Fi P2P) and a DHCP server, as some guides discuss, can make this process smoother, as a matter of fact.
Once the connection is attempted, you'll want to verify that devices are actually pairing and can see each other. Sometimes, even when the connection is successful, devices pairing cannot see each other (by ping or nmap), so that seems to be wrong configured or broken too. This means you might need to check your firewall settings or ensure IP addresses are being assigned correctly within the P2P group. It's a common hurdle, but one that can be fixed with a bit of troubleshooting, you know?
Real-World Uses for Raspberry Pi P2P
The ability to create direct P2P connections with a Raspberry Pi opens up many practical applications. It's not just a technical curiosity; it solves real problems for various projects. People often think Raspberry Pi projects need days of work and advanced skills, but some ideas can be put in place in less time, especially with P2P, which is pretty neat.
IoT Devices and Remote Access
Imagine having a Raspberry Pi placed in the attic, perhaps running another application. You might want to communicate with it via an ad hoc or Wi-Fi Direct connection without running long cables or relying on your home router. P2P makes this possible. You can connect directly from your laptop or phone to the Pi, giving you control and data access right there, which is very convenient.
Utilizing tools such as remoteiot, people can establish a secure P2P connection between their Raspberry Pi devices, enabling data exchange sans an intermediary server. This is perfect for home automation sensors, smart garden systems, or even remote monitoring setups where a central server might be overkill or impractical. It creates a self-contained little network for your smart gadgets, you know?
Secure Communication Without Port Forwarding
A frequent question is: can the RPi be set up to use P2P (instead of port forwarding) to connect to it over the internet via SSH, SSL, OpenVPN, etc.? The answer is yes, in a way. While true internet P2P without any intermediary still requires some clever networking (like NAT traversal), Wi-Fi Direct P2P provides a local, direct link. This means within a local area, you can bypass router complexities for secure communication.
For example, I see security cameras that use P2P for direct viewing, which is a great use case. Your Raspberry Pi could act as a local security camera hub, allowing your phone to connect directly to it for live feeds without needing to configure your router's port forwarding. This simplifies setup and can enhance privacy by keeping data local, which is quite appealing to many, you know?
This is basically the same previous tutorial that showed a WebRTC link, but now it focuses on the underlying Wi-Fi Direct connection. It’s about building a solid foundation for those direct communication needs. It’s a good step for anyone wanting to make their Raspberry Pi projects more independent and secure, so it's quite a useful skill.
Troubleshooting Common P2P Connection Issues
Even with careful setup, you might run into some bumps along the road when trying to get P2P working. It's not always a smooth ride, and sometimes devices just don't seem to want to talk to each other. This is pretty normal with network setups, so it's nothing to worry about too much.
One common issue is when devices pairing cannot see each other (by ping or nmap), so that seems to be wrong configured or broken too. This can happen even after a successful connection message. If you face this, check your firewall rules on both Raspberry Pi devices. Firewalls can block traffic, even within a direct P2P group. Make sure the necessary ports are open for the services you want to use, like SSH or a custom application, which is very important.
Another area to look at is IP address assignment. In a P2P group, one device usually acts as the "group owner" and might handle IP address distribution (like a mini-DHCP server). If this isn't working right, devices won't get IP addresses and thus can't communicate. Verify your `wpa_supplicant.conf` settings related to IP configuration, and consider setting static IPs within the P2P group for testing. Did anyone achieve to do a stable connection? Sometimes it takes a bit of tweaking, you know?
Also, double-check that your Wi-Fi chipset truly supports P2P. As mentioned before, if your hardware isn't capable, no amount of software configuration will make it work. Sometimes, outdated drivers can also cause problems, so ensuring your system is up to date is a good step. Regards, see similar questions with others who have had issues; often, the solution is in the details of the configuration or hardware compatibility, as a matter of fact.
Comparing P2P to Traditional Networking for Raspberry Pi
When you set up a Raspberry Pi, you usually connect it to your home Wi-Fi network, which uses a router. This is traditional networking. P2P, on the other hand, creates a direct link between devices. Understanding the differences helps you pick the right setup for your project, which is pretty helpful.
With traditional networking, your router manages all the traffic, assigns IP addresses, and connects your devices to the internet. It's a central point of control. P2P, like Wi-Fi Direct or an ad hoc connection, bypasses this central router for local communication. It’s a bit like setting up a temporary, private walkie-talkie channel just for two devices, you know?
One key difference is reach. A traditional Wi-Fi network extends throughout your home, letting many devices connect and access the internet. P2P connections are typically more limited in range and are meant for direct, close-range communication. If you need your Pi to be part of your main home network and access the internet, traditional Wi-Fi is probably better. But if you need direct device-to-device interaction without a router, P2P is the way to go, apparently.
Security also plays a role. While your home Wi-Fi is secured by your router, P2P connections create their own secure link, often with a passphrase. This can be more secure for local device-to-device data exchange, as it doesn't rely on your router's security settings. It's a different kind of security, focused on direct interaction rather than broader network access, which is quite interesting.
The choice really depends on your project's needs. For internet access and widespread home connectivity, traditional Wi-Fi is king. For secure, direct device communication, especially in isolated or specific IoT setups, P2P offers a very effective and often simpler solution, which is quite good for many. This guide is designed to cater to both those just starting out and those with a bit more experience, offering a practical approach to these concepts.
Frequently Asked Questions About Raspberry Pi P2P
Here are some common questions people ask about using P2P with their Raspberry Pi.
Can a Raspberry Pi act as a Wi-Fi Direct group owner?
Yes, your Raspberry Pi can absolutely act as a Wi-Fi Direct group owner. This means it can create its own P2P network and allow other devices to connect to it directly, just like a mini Wi-Fi hotspot. This is what you'll typically configure when setting up a P2P connection, so it's a very common setup.
What kind of Wi-Fi chipset do I need for P2P on Raspberry Pi?
You need a Wi-Fi chipset that specifically supports Wi-Fi Direct (P2P) features. Most modern Raspberry Pi models, like the Raspberry Pi 3, 4, or Zero 2 W, have built-in Wi-Fi that supports this. If you're using an external USB Wi-Fi adapter, make sure its specifications list P2P compatibility, which is quite important for it to work, you know?
Is P2P on Raspberry Pi more secure than traditional Wi-Fi?
P2P offers a different kind of security. For direct device-to-device communication, it can be more secure because it bypasses a central router and creates a direct, often encrypted, link. This reduces points of vulnerability. However, it doesn't replace the security of your main home network for internet access. It’s a specific security benefit for direct local links, which is pretty good for certain projects.
Wrapping Up Your P2P Raspberry Pi Journey
Setting up P2P on your Raspberry Pi opens up a world of direct communication possibilities for your projects. From creating secure IoT connections to enabling direct access to a Pi in a tricky spot like an attic, the ability to connect without a central server is very powerful. You've seen how important it is to have the right Wi-Fi chipset and to configure `wpa_supplicant` correctly, perhaps even building it with P2P features enabled. It's about getting your devices to talk to each other in a more independent way, which is rather cool for many smart ideas, you know?
Whether you're looking to exchange data directly between devices, bypass complex network setups, or simply explore new ways for your Raspberry Pi to interact with the world, P2P is a skill worth having. It simplifies many aspects of device communication and enhances privacy and control for your smart setups. Keep experimenting with your `wpa_supplicant.conf` file and the various P2P modes, as that's where you'll really learn the ropes, apparently.
If you're keen to learn more about Raspberry Pi projects on our site, there's a lot more to discover. And for deeper dives into specific networking setups, you might find more useful tips on our networking guides page. Keep building and exploring those direct connections!
For more detailed technical insights on Wi-Fi Direct, you can check out resources like Wi-Fi Alliance's Wi-Fi Direct page.

Detail Author:
- Name : Domenica Pacocha
- Username : brakus.jaylen
- Email : ellsworth63@spinka.com
- Birthdate : 1993-02-03
- Address : 9563 Feest Burg Lake Dixiestad, NC 30474
- Phone : 1-432-404-9932
- Company : Ryan and Sons
- Job : Sawing Machine Operator
- Bio : Id vel cum aut quod adipisci qui. Id sint nesciunt harum quod facere molestias voluptas. Nesciunt incidunt rerum ipsa qui.
Socials
instagram:
- url : https://instagram.com/nikolausn
- username : nikolausn
- bio : Totam placeat aut totam quis maxime quis. In aliquid natus rerum. Aliquam totam qui iste illo.
- followers : 3089
- following : 1966
linkedin:
- url : https://linkedin.com/in/nikolaus1981
- username : nikolaus1981
- bio : Beatae fuga magni voluptate sed saepe.
- followers : 3925
- following : 1394
twitter:
- url : https://twitter.com/nichole_xx
- username : nichole_xx
- bio : Quod consequatur autem in accusantium dolores atque esse. Aperiam quod recusandae eligendi rerum. In non unde et est in deserunt.
- followers : 4384
- following : 1184
tiktok:
- url : https://tiktok.com/@nichole_id
- username : nichole_id
- bio : Laborum id fugit minus voluptatem consequatur necessitatibus dolores.
- followers : 5375
- following : 2493
facebook:
- url : https://facebook.com/nichole6132
- username : nichole6132
- bio : Nisi voluptas vero mollitia eos consequatur culpa.
- followers : 6081
- following : 1566
