
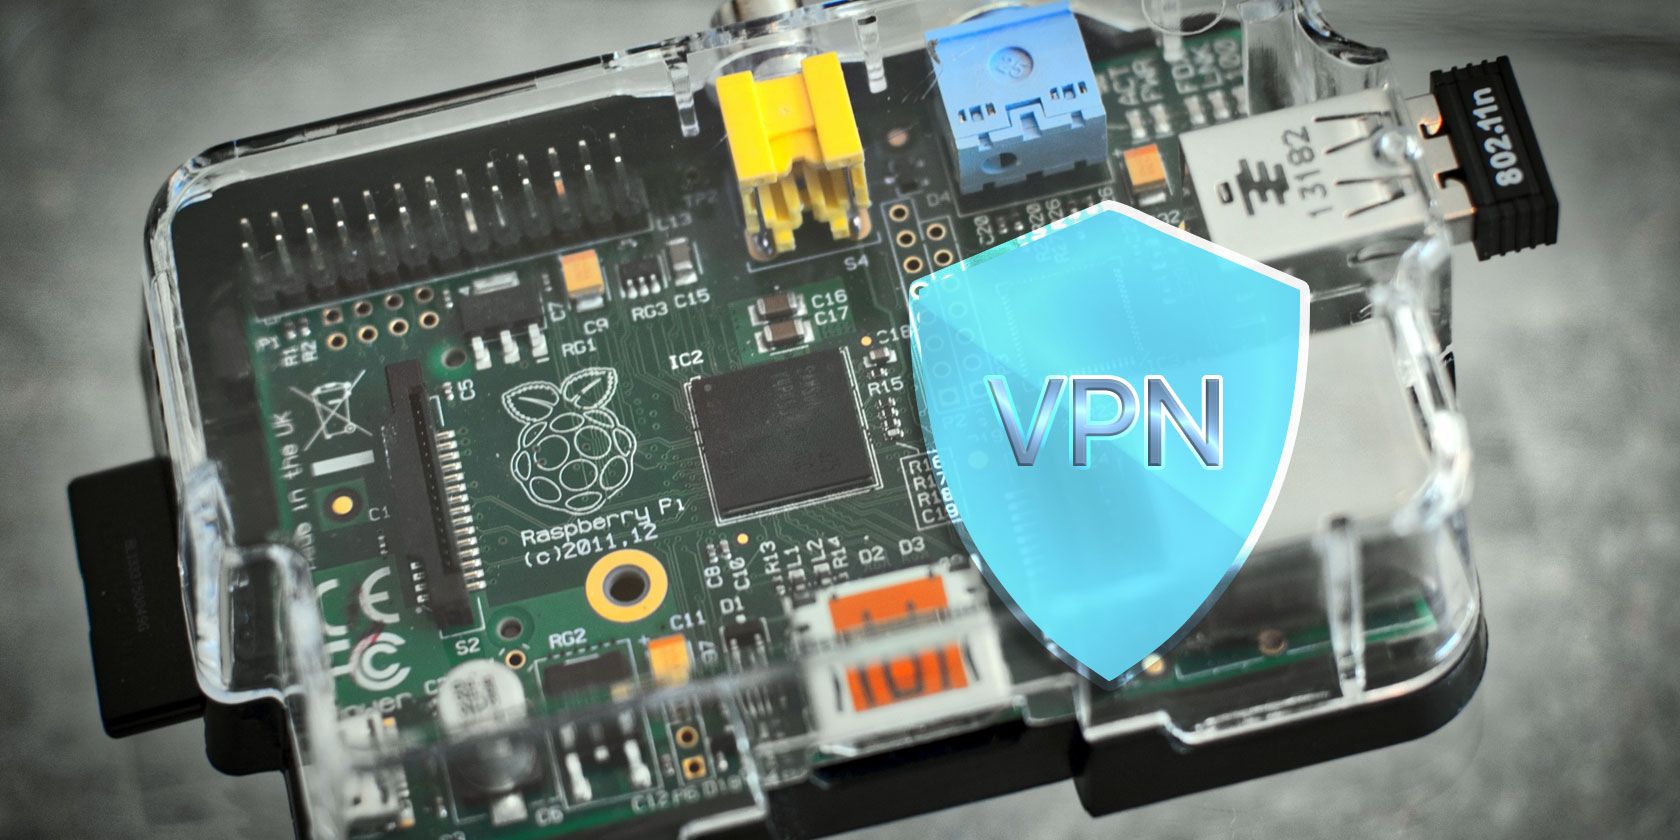
Connecting your Internet of Things (IoT) devices, especially those running on a Raspberry Pi, from far away can feel like a big challenge. Many people worry about keeping their data safe when it travels across the internet, and that's a very real concern. Yet, there are ways to set up connections that are both private and cost nothing, using peer-to-peer (P2P) methods. This approach lets your devices talk directly to each other, without needing a middleman service that might charge you money or, you know, just gather your data.
For anyone working with Raspberry Pi for home automation, sensor networks, or even small business applications, getting a handle on remote access is really useful. It means you can check on things or make changes to your setup from anywhere, which is pretty handy. This guide will walk you through how to securely connect remote IoT P2P using free Raspberry Pi download options, making sure your projects stay private and sound.
We'll talk about why P2P is a smart choice for your IoT projects, especially when you want to avoid monthly fees or cloud service limits. You'll find out about some good, free tools and get simple steps to get your Raspberry Pi talking securely to your other devices, which is, honestly, a lot easier than it sounds if you follow along.
Table of Contents
- What is P2P IoT and Why Does it Matter?
- Understanding Security in Remote IoT Connections
- Getting Started: Your Raspberry Pi Setup
- Free Tools for P2P Connectivity on Raspberry Pi
- Step-by-Step Guide: Secure P2P Connection Example
- Best Practices for Long-Term Security
- Troubleshooting Common P2P Connection Issues
- Frequently Asked Questions
- Taking Your IoT Projects Further
- Conclusion
What is P2P IoT and Why Does it Matter?
Brief Explanation of P2P IoT
P2P, or peer-to-peer, in the world of IoT means that your devices talk directly to each other. Think of it like two friends having a private chat, rather than sending messages through a big, public message board. This direct link can be very good for speed and keeping things private, so it's a bit different from how many IoT systems work.
Typically, IoT devices might send their data to a central cloud server, which then sends it to your phone or computer. With P2P, your Raspberry Pi, which is acting as an IoT hub, could directly send information to your laptop, or, you know, another Raspberry Pi. This direct connection often means less delay in communication, which is pretty important for some applications.
Benefits for Raspberry Pi Users
For Raspberry Pi enthusiasts, using P2P offers several nice advantages. First, it cuts out the need for expensive cloud subscriptions, which, let's be honest, can add up over time. You get to keep more of your money, which is always a plus.
Second, P2P gives you more control over your data. Your information stays within your own network or directly between your devices, rather than sitting on someone else's server. This is a big deal for privacy, especially with sensitive data, and it's something many people are looking for these days.
Third, P2P can be more reliable in some ways. If the internet connection to a big cloud server goes down, your P2P devices might still be able to talk to each other locally, which is quite useful. So, you know, it's a bit more resilient.
Why Avoid Cloud Services?
Cloud services are great for many things, but they do have some downsides for IoT, particularly for smaller projects or those on a budget. The main issue is cost; many cloud platforms charge based on data usage or the number of devices, which can become expensive quickly. Also, that, you know, monthly fee can be a drag.
Another concern is data privacy. When your data goes through a third-party cloud, you're trusting that company to keep it secure and private. For some, this is a deal-breaker, especially if they are working with personal or sensitive information. So, it's pretty clear why some folks prefer to keep things in-house.
Finally, there's the issue of latency. Data has to travel to the cloud and back, which can introduce delays. For applications where quick responses are needed, like controlling a robot arm or reacting to a sensor reading, this delay can be a problem. P2P, on the other hand, usually offers faster response times, which is, arguably, a better choice for real-time control.
Understanding Security in Remote IoT Connections
Common Threats to IoT Security
When you connect devices to the internet, even your little Raspberry Pi, you open them up to possible attacks. One common threat is unauthorized access, where someone tries to get into your device without permission. This could be to steal data, or, you know, just mess with your system.
Another threat is data interception. This happens when someone "listens in" on your communication, trying to see what data your devices are sending. Without proper security, this information could be read by anyone who manages to intercept it, which is pretty scary.
Then there are denial-of-service (DoS) attacks, where attackers flood your device with so much traffic that it can't function properly. This might not steal data, but it stops your IoT system from working, which is, obviously, a big problem for a lot of people.
Key Security Principles
To keep your remote IoT connections safe, a few basic ideas are very important. First, always use strong authentication. This means having good passwords, or even better, using key-based authentication where possible. It's like having a really strong lock on your door, you know.
Second, always encrypt your data. Encryption scrambles your information so that even if someone intercepts it, they can't read it without the right key. This is a fundamental step for any secure connection, and it's something you really want to get right.
Third, limit access. Only allow necessary ports and services to be open on your Raspberry Pi. Think of it like only opening the windows you absolutely need to. This reduces the number of ways someone could try to get in, which, in some respects, makes your system much safer.
Encryption Methods for P2P
For P2P connections, several encryption methods can help keep your data private. VPNs (Virtual Private Networks) are a popular choice because they create a secure, encrypted "tunnel" between your devices. WireGuard, which we'll discuss, is a modern, fast VPN protocol.
Another method involves using TLS (Transport Layer Security), which is what secures websites (the 'S' in HTTPS). You can use TLS to encrypt communication between IoT devices, especially when using messaging protocols like MQTT. This adds a layer of protection, which is pretty vital.
Also, tools like ZeroTier and Tailscale create virtual networks that are inherently encrypted. They build a secure mesh network over the internet, making it seem like all your devices are on the same local network, even if they are physically far apart. So, you know, it's a rather clever way to handle things.
Getting Started: Your Raspberry Pi Setup
Hardware Needs
To start your secure remote IoT project, you'll need a Raspberry Pi. Any recent model, like a Raspberry Pi 3B+, 4, or even a Zero 2 W, will usually work fine. The exact model depends on your project's demands, but a Pi 4 is a very good all-rounder.
You'll also need a microSD card, at least 16GB, to hold the operating system. A power supply that matches your Pi's requirements is also essential. For remote access, a reliable internet connection for your Pi is, obviously, a must-have.
Optionally, you might want a case for your Pi, and if you're setting it up initially without a monitor, a keyboard and mouse, you know, just for the first time setup.
OS Installation and Basic Configuration
The first step is to install an operating system on your Raspberry Pi. Raspberry Pi OS (formerly Raspbian) is the most common choice, and it's free to download. You can use the Raspberry Pi Imager tool to easily put the OS onto your microSD card.
Once the OS is installed, boot up your Pi. You'll want to enable SSH (Secure Shell) for remote access. This lets you control your Pi from another computer using a command line, which is pretty convenient. You can do this through the `raspi-config` tool, which is, arguably, the easiest way.
It's also a very good idea to change the default password for the 'pi' user immediately. This is a basic security step that many people forget, but it's really important for keeping your device safe from, you know, easy attacks.
Network Setup Considerations
For remote access, your Raspberry Pi needs a stable network connection. If you're using Wi-Fi, make sure it's a strong and reliable signal. For more stability, an Ethernet cable connection is usually preferred, especially for critical IoT applications.
You might also need to configure port forwarding on your router if you plan to access your Pi directly from outside your home network without a VPN-like service. However, using a P2P VPN solution like WireGuard or ZeroTier often removes the need for port forwarding, which, honestly, simplifies things a lot and makes it more secure.
Make sure your Pi has a static IP address on your local network. This means its IP address won't change, which makes it easier to connect to consistently. You can usually set this in your router's settings or directly on the Pi, so, you know, it's something to consider early on.
Free Tools for P2P Connectivity on Raspberry Pi
Open-Source Options Overview
The beauty of working with Raspberry Pi and IoT is the wealth of free, open-source tools available. These tools are often developed by communities, meaning they are usually well-tested and constantly improved. They offer powerful ways to securely connect remote IoT P2P, often without any cost.
We'll look at a few popular choices that help you create secure, direct connections. These tools range from full VPN solutions to virtual network creators and secure messaging brokers. They each have their own strengths, so, you know, you can pick what fits your project best.
The key is that these tools give you the ability to build your own secure infrastructure, rather than relying on commercial services. This means more control, more privacy, and, honestly, a lot more learning opportunities for you.
WireGuard: A Fast VPN Option
WireGuard is a modern, very fast, and simple VPN protocol that's gaining a lot of popularity. It's known for its small code base, which makes it easier to audit for security flaws, and it's pretty quick to set up on a Raspberry Pi. It creates a secure tunnel for all your network traffic, which is excellent for P2P IoT.
Setting up WireGuard on your Pi lets it act as a VPN server, allowing other devices to connect securely to your home network, or to the Pi itself. This means you can access your Pi and any devices connected to it as if you were right there, which is, obviously, very convenient.
WireGuard uses strong, modern cryptography, making it a very secure choice for protecting your IoT data. It's a great option if you want a dedicated, high-performance secure tunnel for your remote connections, so, you know, it's worth looking into.
ZeroTier and Tailscale: Virtual Networks Made Simple
ZeroTier and Tailscale are services that create virtual private networks (VPNs) that act like a mesh network. They make it seem like all your devices, no matter where they are, are on the same local network. This is incredibly useful for P2P IoT because you don't need to worry about router configurations or public IP addresses.
Both ZeroTier and Tailscale are free for personal use and small networks. You install their client software on your Raspberry Pi and any other devices you want to connect. Then, you join them to a virtual network you create through their web interface, which is, in fact, quite simple.
They handle the complex networking stuff, like NAT traversal, so your devices can find and talk to each other directly and securely. This makes them a very user-friendly way to securely connect remote IoT P2P, and they are, arguably, some of the easiest solutions to get working quickly.
Mosquitto (MQTT Broker) with TLS: Secure Messaging
While WireGuard, ZeroTier, and Tailscale create network-level connections, Mosquitto is an open-source MQTT broker that helps with secure messaging between IoT devices. MQTT is a lightweight messaging protocol perfect for IoT, and Mosquitto implements it very well.
To make Mosquitto secure for remote connections, you'll want to enable TLS encryption. This means all messages sent between your IoT devices and the Mosquitto broker on your Raspberry Pi are encrypted. This protects your data even if someone manages to intercept the messages, which is, honestly, a big relief.
You can set up Mosquitto on your Raspberry Pi to act as a central messaging hub for your IoT sensors and actuators. With TLS, you get a secure way for your devices to publish and subscribe to data, and it's a pretty standard way to handle IoT communication, so, you know, it's widely used.
Step-by-Step Guide: Secure P2P Connection Example
Choosing a Method
Before you start, decide which method suits your needs best. If you want a full network tunnel and are comfortable with a bit more setup, WireGuard is a strong choice. If you prefer something that just works with minimal fuss, ZeroTier or Tailscale are excellent. For secure messaging specifically, Mosquitto with TLS is your friend. We'll focus on WireGuard for a detailed example, as it gives you a very clear picture of P2P VPN setup.
WireGuard Setup Walk-Through
This guide will help you set up WireGuard on your Raspberry Pi as a server and connect a client device (like your laptop or another Pi) to it. This lets you securely connect remote IoT P2P. Remember, this is a basic setup, and you might need to adjust it for your specific network.
Install WireGuard
First, update your Raspberry Pi's package list and then install WireGuard. This ensures you get the latest software. Open a terminal on your Pi and type:
sudo apt update sudo apt upgrade sudo apt install wireguard This command gets WireGuard onto your system. It's pretty straightforward, so, you know, just let it run.
Generate Keys
WireGuard uses public and private keys for security. You'll need to generate a pair for your server (the Raspberry Pi) and for each client. For the server, run these commands:
umask 077 wg genkey | tee privatekey | wg pubkey > publickey This creates two files: `privatekey` and `publickey`. Keep the private key very secret. Do the same for your client device, generating its own unique pair of keys. You'll need to copy the public keys between the server and client configurations later, which is, honestly, a critical step.
Configure Server (Raspberry Pi)
Create a WireGuard configuration file for your Raspberry Pi. This file tells WireGuard how to set up the VPN tunnel. Edit `/etc/wireguard/wg0.conf` (you'll need `sudo` permissions):
sudo nano /etc/wireguard/wg0.conf Add the following content, replacing placeholders with your actual keys and chosen IP addresses:
[Interface] PrivateKey = [Your Pi's Private Key] Address = 10.0.0.1/24 ListenPort = 51820 PostUp = iptables -A FORWARD -i %i -j ACCEPT; iptables -A FORWARD -o %i -j ACCEPT; iptables -t nat -A POSTROUTING -o eth0 -j MASQUERADE PostDown = iptables -D FORWARD -i %i -j ACCEPT; iptables -D FORWARD -o %i -j ACCEPT; iptables -t nat -D POSTROUTING -o eth0 -j MASQUERADE [Peer] # Client 1 PublicKey = [Client 1's Public Key] AllowedIPs = 10.0.0.2/32 The `Address` is your VPN server's IP within the WireGuard network. `ListenPort` is the port WireGuard listens on (you might need to forward this port on your router if accessing from outside). `PostUp`/`PostDown` rules enable IP forwarding, letting clients access the internet through your Pi. Make sure to enable IP forwarding in `/etc/sysctl.conf` by uncommenting `net.ipv4.ip_forward=1`, which is, in fact, pretty important.
Configure Client (Remote Device)
On your remote device (e.g., laptop running Linux, Windows, or macOS, or another Raspberry Pi), create a client configuration file. For example, on Linux, it might be `/etc/wireguard/wg0.conf`:
[Interface] PrivateKey = [Client's Private Key] Address = 10.0.0.2/32 [Peer] PublicKey = [Your Pi's Public Key] Endpoint = [Your Pi's Public IP or Domain Name]:51820 AllowedIPs = 0.0.0.0/0 PersistentKeepalive = 25 `Address` is the client's IP within the VPN. `Endpoint` is your Raspberry Pi's public IP address or domain name, followed by the `ListenPort`. `AllowedIPs = 0.0.0.0/0` means all traffic from the client goes through the VPN. `PersistentKeepalive`


Detail Author:
- Name : Aditya VonRueden
- Username : lfeil
- Email : providenci23@dickinson.org
- Birthdate : 1989-06-07
- Address : 879 Stokes Walk Apt. 333 New Emmettfort, NC 33561
- Phone : 1-845-372-1619
- Company : Goodwin LLC
- Job : Spraying Machine Operator
- Bio : Distinctio sapiente sint sapiente consectetur harum. Omnis autem nulla modi delectus quod nisi. Optio voluptatem nihil voluptas et non et.
Socials
twitter:
- url : https://twitter.com/brenda_dev
- username : brenda_dev
- bio : Iure temporibus eaque nesciunt quos sunt ea eos. Beatae occaecati expedita adipisci in non laborum. Sed quaerat quo qui sed consequatur.
- followers : 5330
- following : 2912
tiktok:
- url : https://tiktok.com/@brenda.mills
- username : brenda.mills
- bio : Dignissimos eaque rem consectetur voluptatibus eius deleniti dolorem.
- followers : 238
- following : 2568
linkedin:
- url : https://linkedin.com/in/mills1981
- username : mills1981
- bio : Molestias nobis similique architecto dicta rerum.
- followers : 6864
- following : 142
facebook:
- url : https://facebook.com/mills2008
- username : mills2008
- bio : Non quia aut praesentium in et.
- followers : 4288
- following : 2524
